

There are actually many settings you can tweak in your Facebook account to make your profile more private. It’s just that the account interface is a bit overwhelming and finding the right privacy settings can be confusing. Facebook offers access to tutorials for its privacy settings, but they’re either too long or a bit hard to follow.
So, we put together this guide to streamline this for you. We’ll discuss how to quickly access the most important Facebook privacy settings. In addition, we’ll tell you how to get your Facebook data off the web and hide your connections to Facebook.
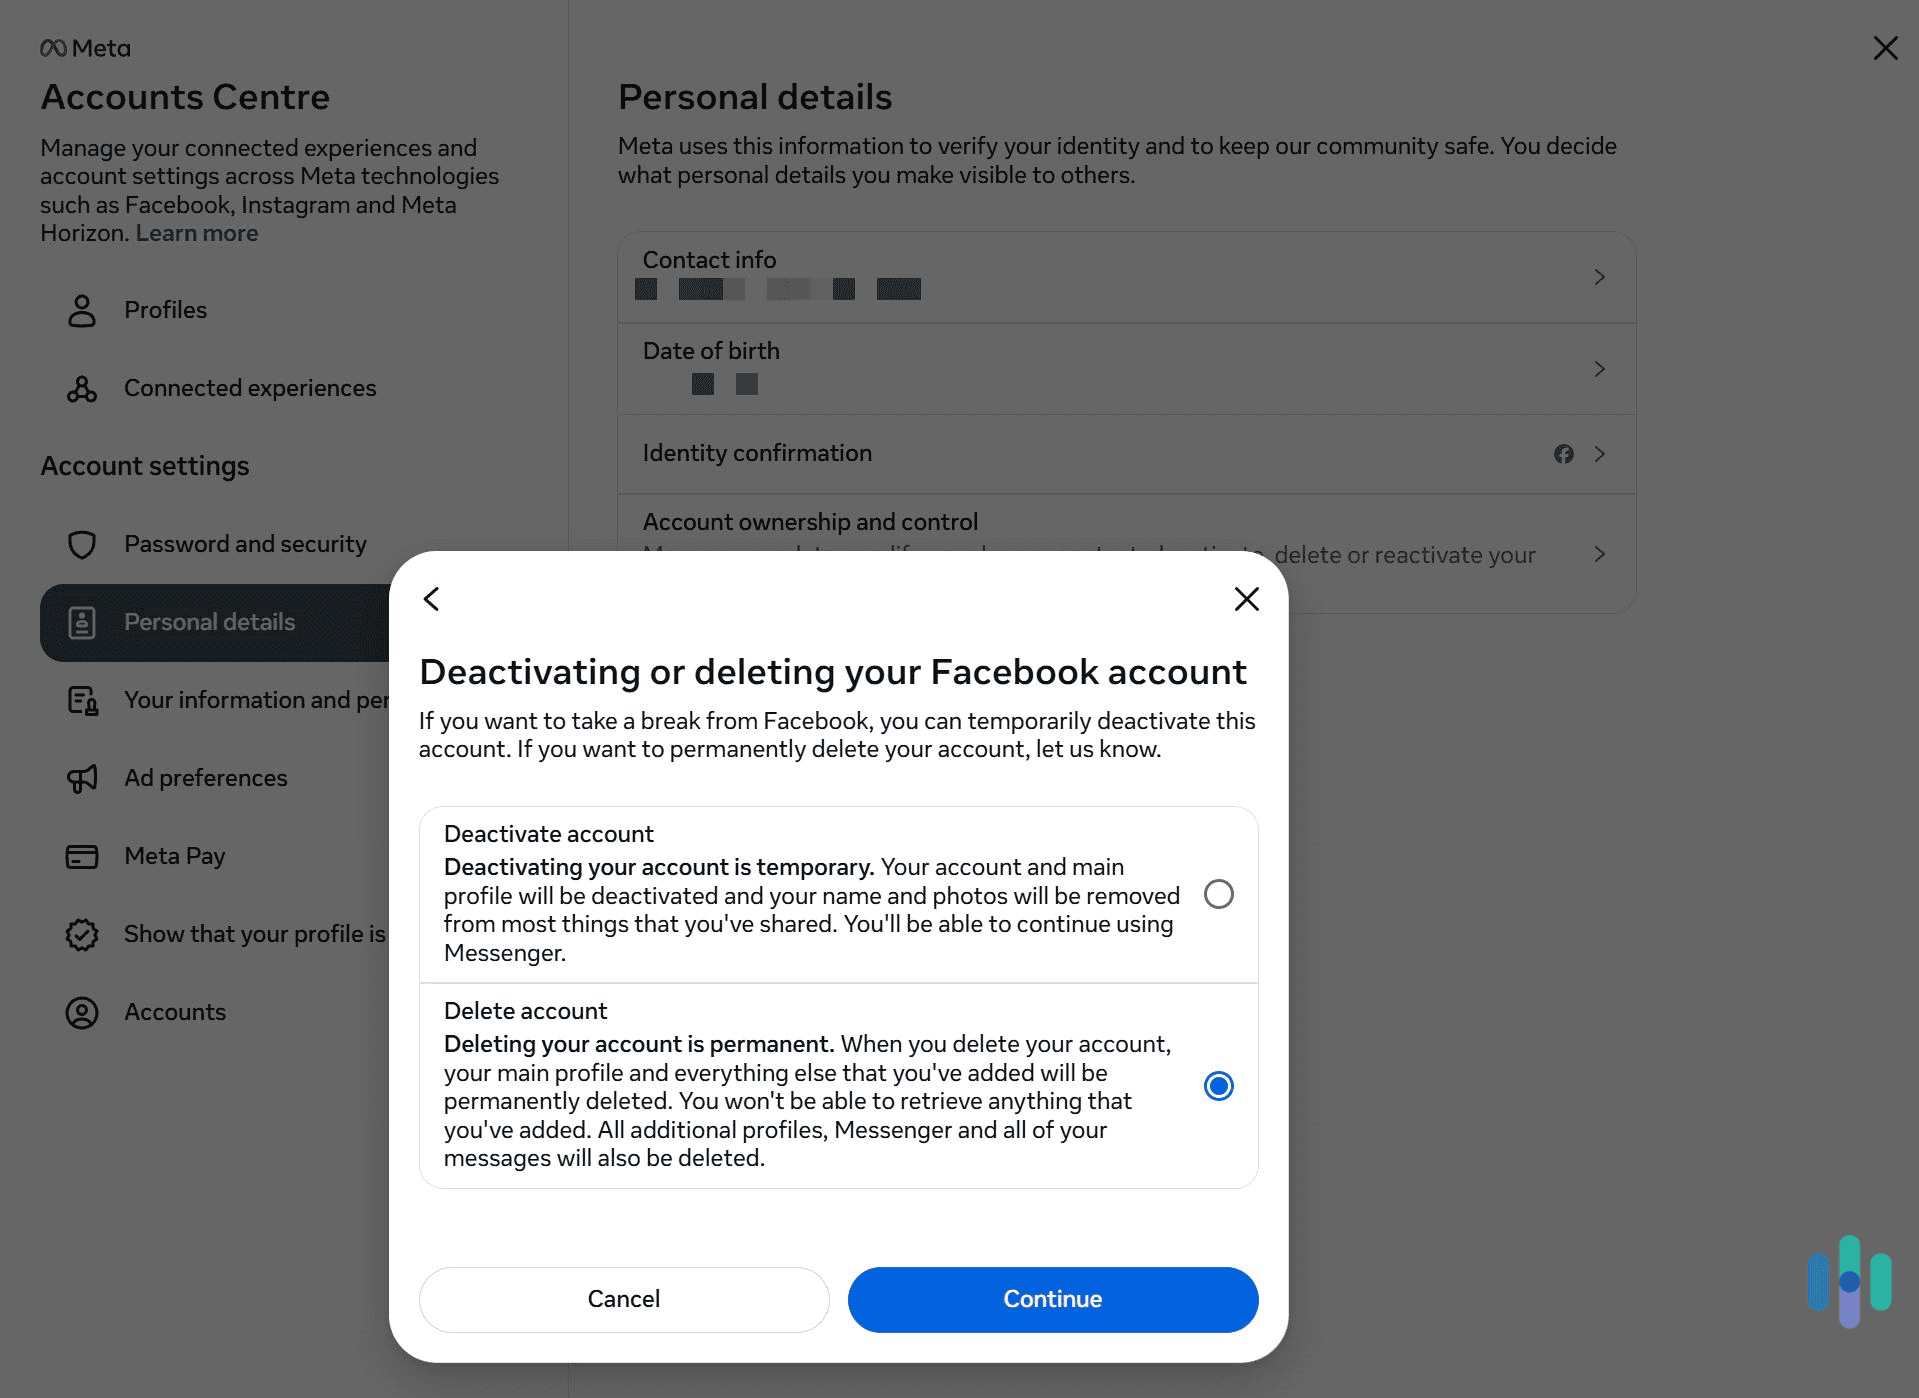
Pro Tip: There’s more to making your Facebook profile private than just tweaking some privacy settings in your account. You also have to get your Facebook data off of data broker websites. The best way to do that is to use a data removal service like Incogni, which automates the whole opt-out process.
4 Ways to Make Facebook More Private
Facebook provides various built-in tools and settings that allow you to enhance the privacy of your profile. We’ll cover the best options in this guide. We’ll mainly cover how to tweak these settings via a browser, but the process is pretty much the same via the mobile app too. Additionally, we’ll discuss how you can remove your Facebook data from various websites.
1. Use Facebook’s “Privacy Checkup” Feature

“Privacy Checkup” is a Facebook feature that lets you quickly change different settings to enhance your profile’s privacy. You can access it by clicking on your profile icon in the top right, selecting “Settings & privacy,” and then picking “Privacy Checkup.” The steps are the same whether you’re using a browser or the Facebook mobile app.
Once you reach the “Privacy Checkup” menu, you’ll have several choices at your disposal. We’ll quickly cover all of the privacy-related ones here:
- “Who can see what you share.” This will let you configure who can see your profile information, like your email address, date of birth, and friends list. You can also adjust who can see your future posts, stories, and reels, as well as posts that you’re tagged in. We mainly recommend only allowing friends to view all of this information. If you’re very privacy-focused, you can even set it so that only you can see everything you post and share. We also recommend enabling the “Limit past posts” option. This will make all of your past posts only visible to friends.
- “How people can find you on Facebook.” This section lets you choose who can send you friend requests, if Facebook can suggest your profile to people based on your email or phone number, and if you want search engines to link to your Facebook profile. We recommend only allowing friends of friends to send you friend requests. Also, you should configure Facebook to not suggest your profile to anyone based on your contact details. And we strongly recommend not allowing search engines to link to your profile.
- “Your data settings on Facebook.” This will take you to the list of apps and websites that you logged into using your Facebook account. You should review the list, and remove any app or website you no longer use.
- “Your ad preferences on Facebook.” This section tells you how Facebook displays ads. There’s also an option to prevent advertisers from using your relationship status, employer, job title, and education to craft personalized ads for you. We strongly recommend blocking ads from using that information. Finally, you can also choose if your friends see that you’ve interacted with a page (liked it, for example) that they see in an ad. Our recommendation is to choose the “Only me” option, so that nobody can see your page interactions in ads.
Expert Insight: We also recommend reviewing your account security settings via the “How to keep your account secure” section. This includes making sure you’re using a strong password, setting up login alerts, and enabling two-factor authentication. While this doesn’t make your Facebook profile more private, it does protect your account from being taken over.
2. Limit Who Can See & Interact With Your Content

The “Privacy Checkup” feature does a good job of allowing you to limit who can see your profile information and posts. But the “Settings & privacy” menu has a few additional features that you can configure to further boost your privacy. They’re found under the “Audience and visibility” tab. Here’s what we recommend doing:
- “Reels.” For this section, we mainly recommend setting it up so that only friends can see your reels. Also, we recommend disabling the “Allows others to share your reels to their stories?” option if you intend to keep your reels public. That way, other Facebook users won’t be able to share your public reels to their stories.
- “Followers and public content.” This is something that the “Privacy Checkup” feature doesn’t cover. It has to do with who can see your followers on your timeline, who can see what pages you follow, and who can comment on your public posts. We recommend setting all of those settings to either “Friends” or “Only me.” You should also disable the “Off-Facebook previews” option. This way, if you make public group posts and they’re shared outside of Facebook, the previews won’t include your username, profile image, or any other content from your post.
- “Profile and tagging.” We recommend only allowing friends to post on your profile and see what others post on your profile. You can also hide comments containing specific keywords from your profile. Also, if you keep your posts public, we recommend disabling the “Allow others to share your posts to their story?” option.
FYI: There’s also a “Blocking” tab, which the “Privacy Checkup” tool redirects to. This tab will provide you with different ways to protect your privacy on Facebook. This includes blocking users, messages, app invites, event invitations, and pages. You can also add specific friends to a restricted list. If you do that, they won’t see Facebook posts that you only share with friends.
3. Manage Your Facebook Activity

Facebook provides access to logs of your entire Facebook activity, This includes live videos you’ve posted, videos you’ve watched, comments you’ve made, page likes, and more. To access this log via a browser or the mobile app, you need to click on your profile icon in the top right. Then, select “Settings & privacy,” and next pick “Settings.” Finally, click “Activity log,” which is located under the “Your activity and permissions” tab.
In addition to displaying all of your activity, Facebook also lets you quickly remove anything you want. For example, you can instantly delete all of your past comments. You can also unlike pages in bulk, clear all of your Facebook searches, and log out of various devices.
We can’t really provide any advice in this case. It really depends on what measures you want to take to protect your privacy. Maybe you want to delete all of your activity, or you only want to remove specific comments. At the very least, we recommend reviewing all of your activity to make sure there are no privacy concerns.
4. Get Your Facebook Information Off Data Broker Sites
 aggregate and display your personal data, including your Facebook profile.")
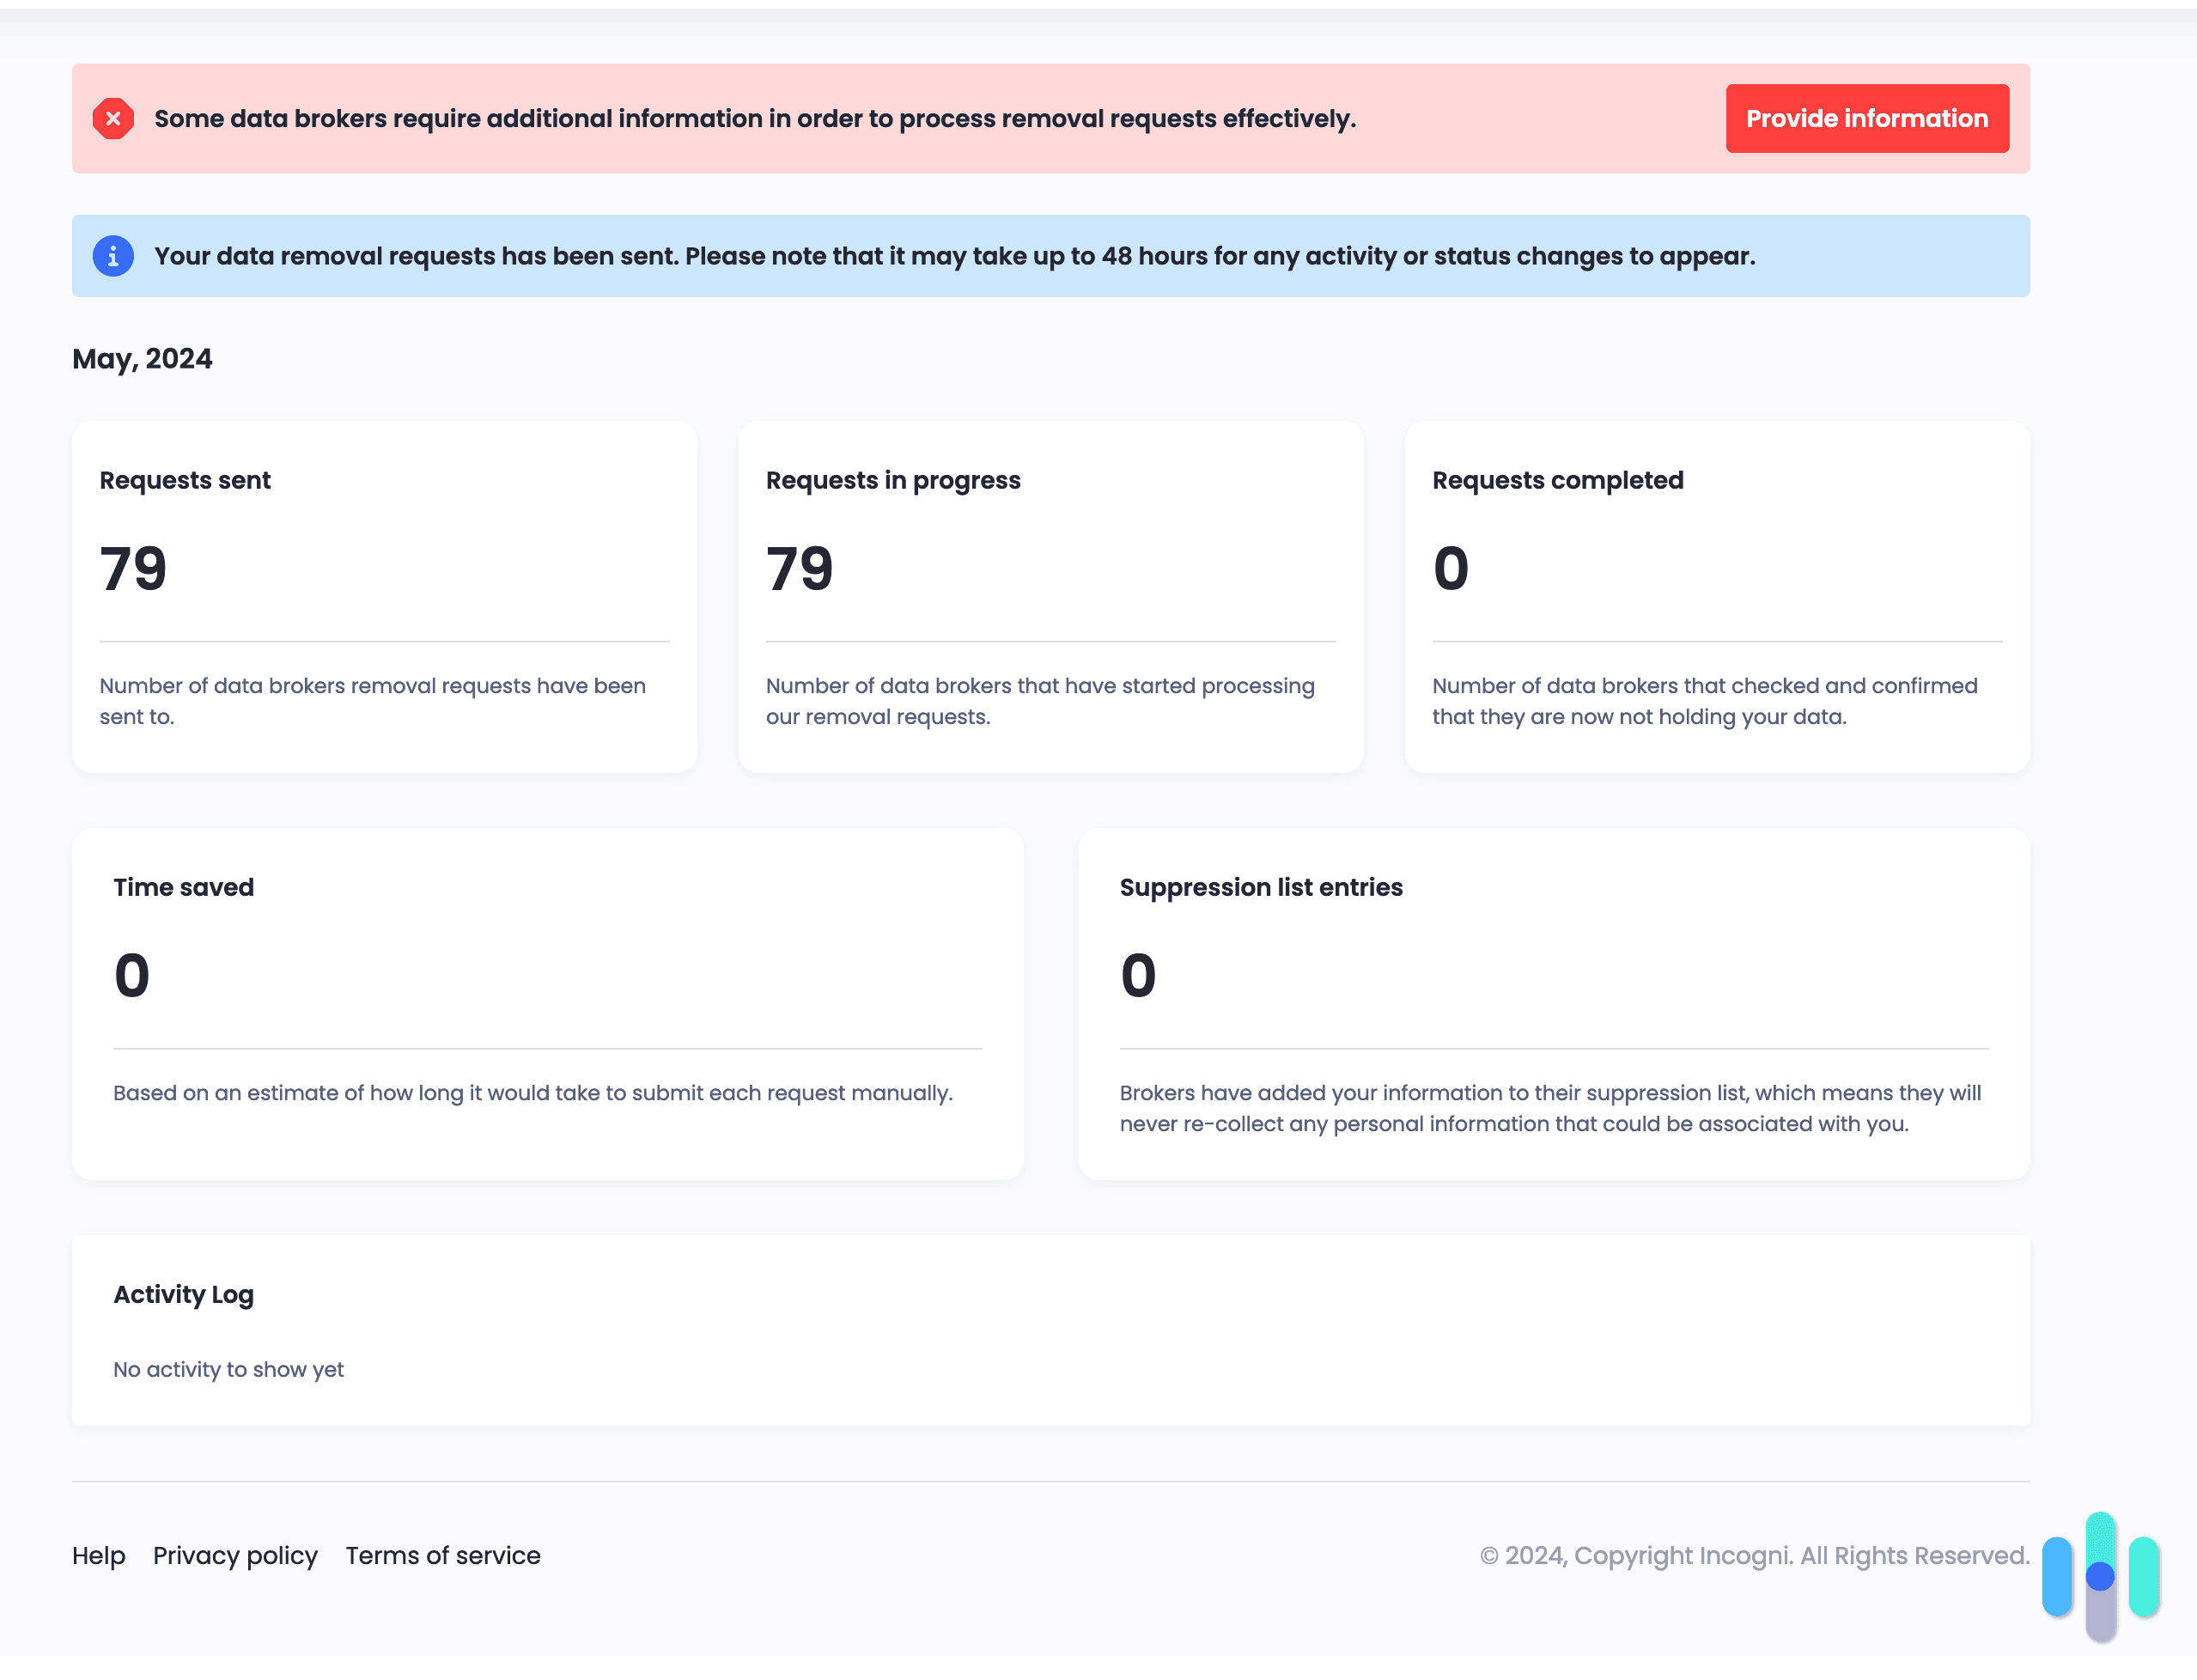
Data broker websites (also called people search sites) collect your personal information and add it to a database. Unfortunately, anyone could use a data broker site to look you up and find any information they want on you. In addition to your full name, phone number, home address, and email address, they could find information about your social media accounts, including your Facebook profile.
Not only does this compromise your privacy, but it could also put you at risk. For example, a stalker could use a data broker site to find your Facebook profile information, and then use it to harass you. Scammers could also use this information to target you with phishing attacks via Facebook.
Incogni’s automated data removal service sends the first batch of opt-out requests in seconds and continues scanning the internet to remove more of your exposed information.
The best way to get your Facebook information (as well as any other personal data) off of data broker sites is to use a data removal service. This is an online tool that will automatically send data opt-out requests to data broker sites. Data removal services are easy to use, and they’re also pretty affordable. There are many good data removal tools in 2026, but our personal favorites are Incogni and DeleteMe.
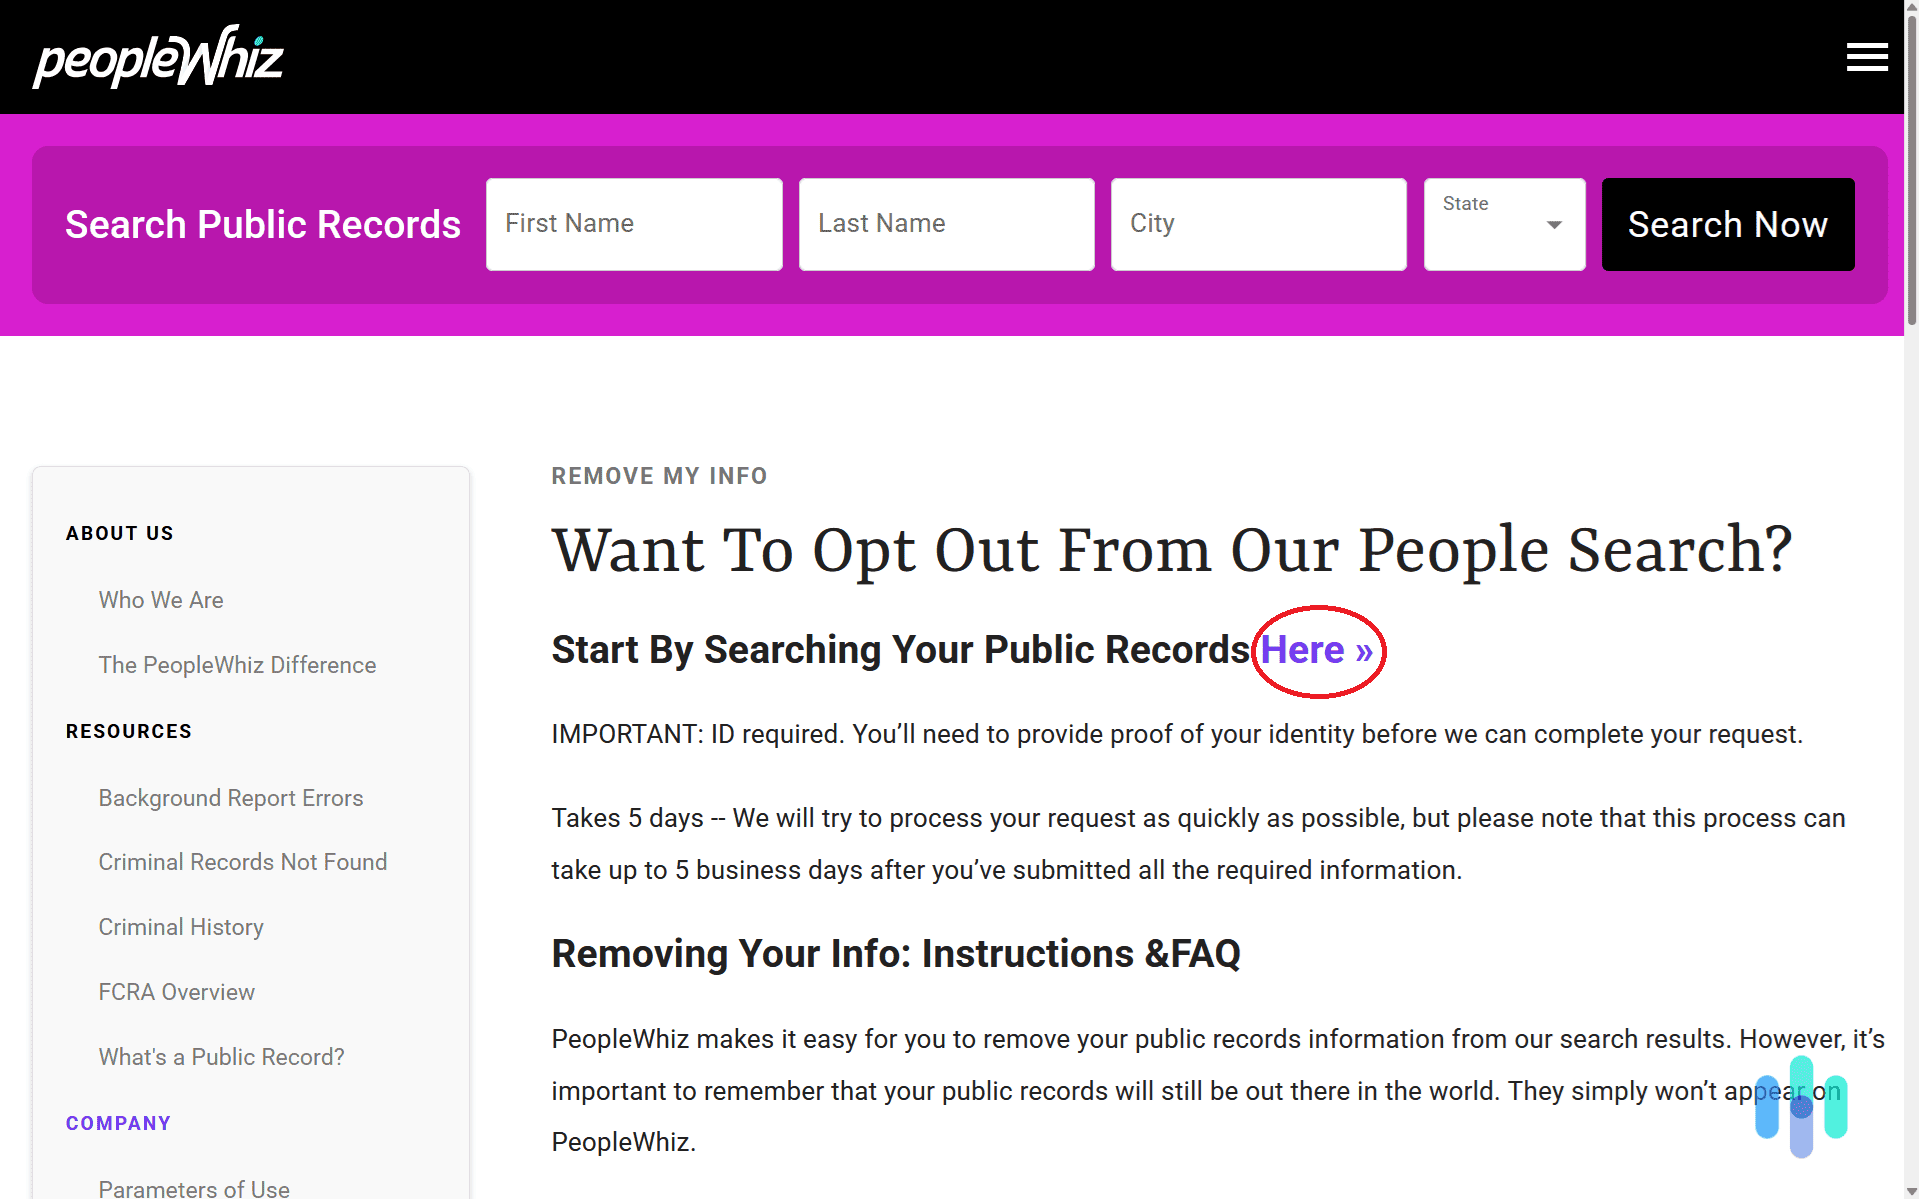
FYI: You can also manually opt out of data broker sites, so it’s not completely mandatory to use a data removal service. That said, there are hundreds (if not thousands) of data broker sites on the web. So, opting out of each one of them would be a huge time sink. Plus, you’d have to regularly check each site to make sure it doesn’t republish your data. This is why we strongly recommend using a data removal service to automate the process. DeleteMe, for example, automatically removes data from over 750 data broker sites.
Can You Hide the Fact That You’re Using Facebook?

Yes, it’s possible to do this. Specifically, you can prevent ISPs and network admins from seeing that you’re connected to Facebook. You can do this by using a VPN (Virtual Private Network). This is an online service that encrypts your internet traffic. That basically means it makes your web traffic look like gibberish. So, your ISP or network admin wouldn’t be able to see that you’re accessing Facebook’s website.
Using a VPN is very simple. You just need to sign up for a VPNs service, download and install the VPN app on your device, and use it to connect to a VPN server. After that, you can connect to Facebook without anyone seeing that you’re doing it.
There are plenty of good VPNs in 2026, but our favorite one is NordVPN, which provides very fast speeds for browsing Facebook and watching videos. It’s also very secure and provides high-end privacy features.
Expert Insight: If you use a VPN to access Facebook, you’ll also prevent the site from collecting your real IP address. Your IP contains information about your real-time location. Using a VPN to hide your IP address won’t stop Facebook from collecting all of your location data, but it will limit it to a certain extent.
Having Doubts About Staying on Facebook?
Even if you follow all of the privacy tips in this guide, some of you might still feel like your privacy is at risk when you’re on Facebook. That’s understandable as the website still collects personal information, such as your posts, comments, messages, IP address, device type, GPS data, and more.
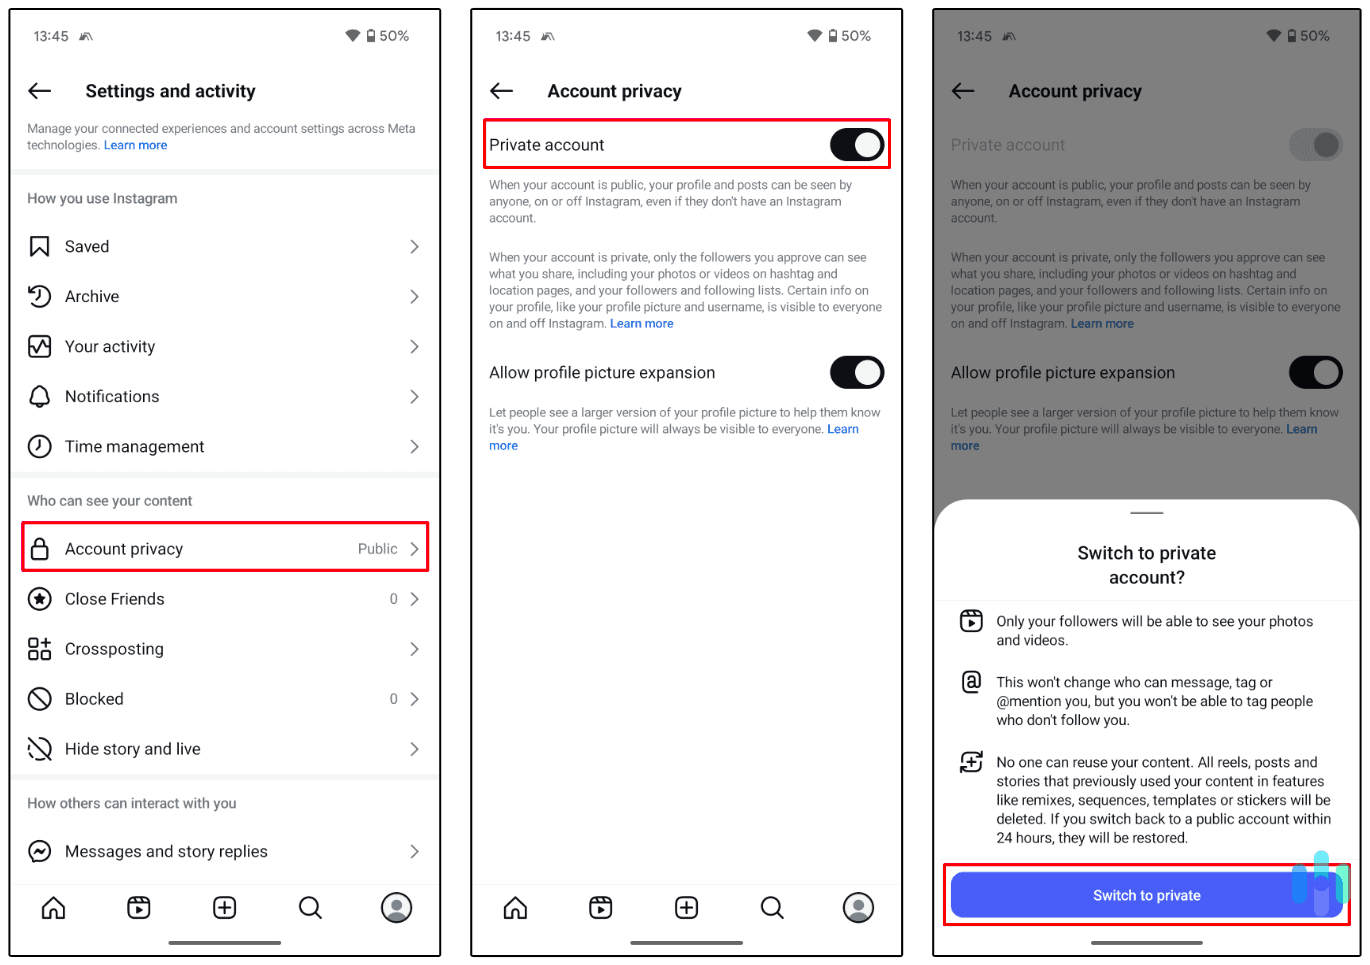
If that’s the case, you might consider deactivating or deleting your Facebook account. If you deactivate it, you’ll temporarily make it unavailable to anyone (but you’ll still be able to use Facebook Messenger). And if you delete it, Facebook will permanently remove your profile and all associated data from its site.
>> Read More: How to Delete Your Facebook Account in 2026
Recap
Facebook actually has many settings that allow you to better protect your privacy while using the platform. Even if you don’t want to go through all of them, we at least recommend using the “Privacy Checkup” feature. It lets you quickly tweak some important privacy settings really fast.
And in addition to configuring your Facebook settings, we recommend using a data removal service (like Incogni or DeleteMe). That way, you’ll remove all of your Facebook profile data from data broker websites.
>> Find Out More: Five Easy Opt-Outs to Protect Your Identity & Privacy
Frequently Asked Questions
-
How can I adjust my Facebook privacy settings?
The quickest way to do it is via the “Privacy Checkup” tool. You can access it both via a browser or the mobile app by clicking your profile icon in the top right, choosing “Settings & privacy,” and then selecting “Privacy Checkup.”
-
Can I delete all my Facebook comments in bulk?
Yes, you can do this via the “Activity log” section. To access it, click your profile icon in the top right, choose “Settings & privacy,” then pick “Settings,” and next choose “Activity log.” It’s located right under the “Your activity and permissions tab.”
-
Can I limit how people find me on Facebook?
Yes, you can quickly do it via the “Privacy Checkup” feature. To access it, click your profile icon, select “Settings & privacy,” and choose “Privacy Checkup.” Then, click the “How people can find you on Facebook” section to start tweaking those settings.
-
Can I stop anyone from seeing that I’m using Facebook?
Yes, you can hide the fact that you’re connecting to Facebook with a VPN (like NordVPN, for example). If you first connect to the VPN, and then access Facebook, your ISP or network admin won’t be able to see that you’re using the site.