Canary Security System Cost and Pricing
Canary has an array of three cameras: the Pro, the View and the Flex. Which one is best for you?
- The Canary View is a solid entry-level indoor camera for $99.
- The Canary Pro provides more than just security for $169.
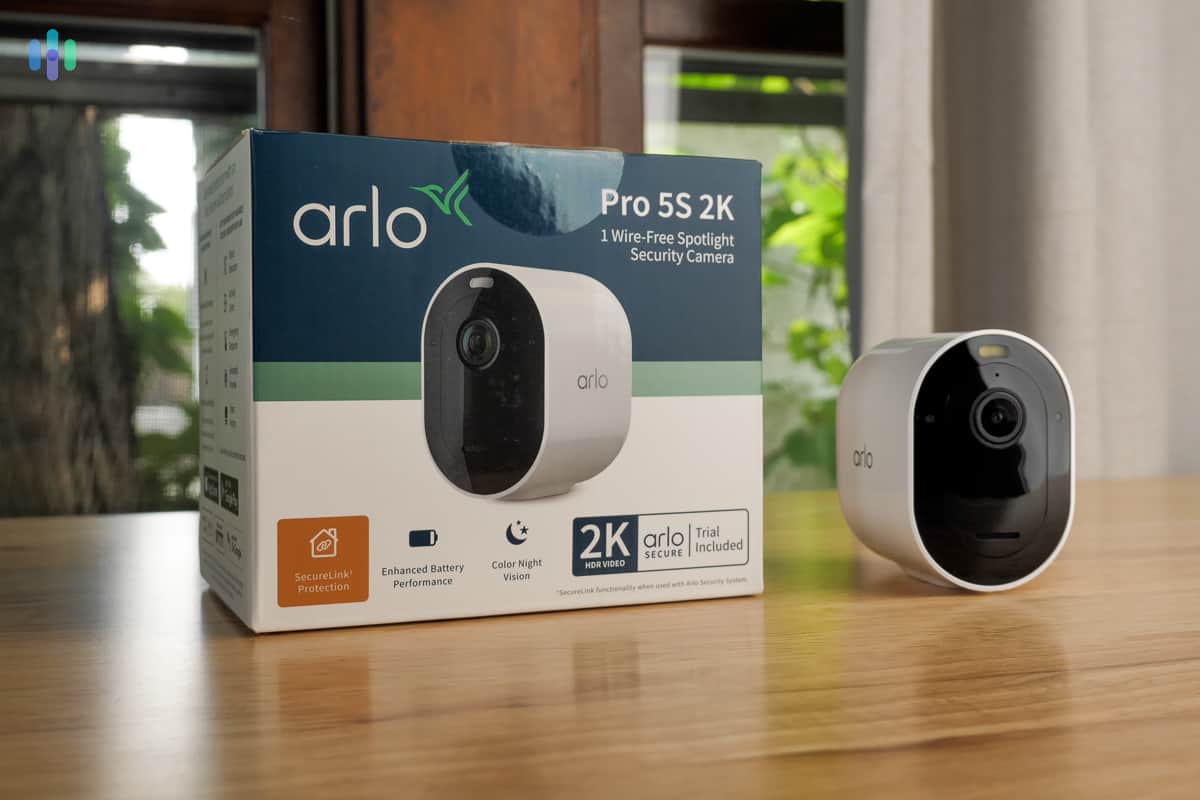
- At $199, the battery-powered Canary Flex isn’t cheap. (See our Arlo review for budget-friendly but top-quality battery cameras.)


the security.brief
Canary's security cameras include the $99 View, $169 Pro with siren and HomeHealth, and $199 Flex for indoor/outdoor use. Optional subscriptions enhance features.
Editor’s Note: Canary relies solely on cameras. So we recommend going with one of the best home security systems instead. They often include cameras and other devices to protect your home, such as entryway sensors, smart locks, and video doorbells.
Security cameras deter burglars and the experts at Canary know that. That’s why they built a security solution made entirely of cameras. Is a setup like that enough to protect your home though? And let’s be honest – what’s it really going to cost you? Well, we didn’t want to make any rash assumptions, so we went ahead and tested Canary cameras so that we can give you an insider’s look at their features, prices, and monthly costs. Ready to take it all in? Let’s get cracking, starting with our favorite things about Canary’s crime-busting trio: the Canary Pro, the Canary Flex, and the Canary View.
Pricing
| Canary camera name | Price |
|---|---|
| Canary View | $99 |
| Canary Flex | $199 |
| Canary Pro | $169 |
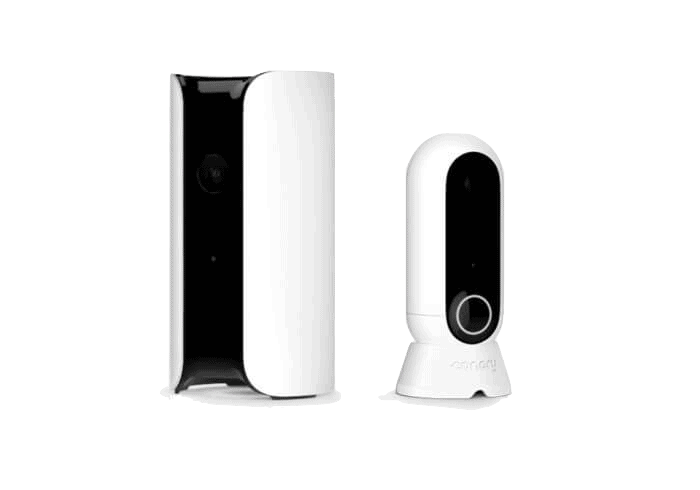
Quick Breakdown: The Canary Pro is an indoor-only camera with a built-in siren and HomeHealth technology that tracks the air quality, temperature and humidity. The Canary View is like a light version of the Pro without HomeHealth and the siren. Finally, the Flex is an indoor/outdoor camera that works either plugged-in or battery-powered.
The Best Things Canary Has To Offer

Our tests revolved around the three Canary cameras as well as the Premium Service, formerly known as the Canary Membership, a subscription plan designed to make the cameras function better. Naturally, there were features that we just couldn’t help but adore:
- The cameras adapt to your needs: No, the cameras weren’t bendy or anything like that. We’re talking about the flexibility they allowed when it comes to usage. The Pro and the View worked anywhere indoors, while the Flex model worked both indoors and outdoors. Canary Flex, the most flexible of the three, also had a battery that made it completely wire-free.
- The subscription was optional and there were no contracts: Although we did sign up for the Premium Service, we didn’t have to as long as we had four cameras or less. And once our tests were over, we canceled our subscription without any hassle, a perk of not having a long-term contract.
- The image quality was excellent: The Canary Pro, View, and Flex all hit the sweet spot when it came to video quality. They recorded in 1080p HD with infrared night vision and wide viewing angles, just what we’re looking for in security cameras.
- They worked with our favorite smart home devices: We’re big fans of smart home tech and we love our Alexa and Google Assistant speakers, so we just appreciate the fact that Canary worked with both.
- We got insurance discounts: It’s a well-known fact that insurance companies discount premiums by five to 20 percent for homeowners with security systems.1 Even though we didn’t test out Canary’s professional monitoring option, some insurance companies made Premium Service users like us eligible for the discount. That’s a good indication of Canary’s value as a security solution.
That’s just a taste of our Canary experience.
Are Canary Cameras Expensive?
There’s a notion that security cameras are over-the-top expensive, but that wasn’t the case when we purchased from Canary. On the contrary, we found their pricing to be quite competitive, especially when you consider all of the features included.
| Canary View | Canary Flex | Canary Pro | |
|---|---|---|---|
| Price | $99 | $199 | $169 |
| Indoor/ Outdoor | Indoor | Both | Indoor |
| Plugged-in or battery-powered? | Plug-In | Either | Plug-in |
| Wi-Fi or Wired? | Wi-Fi | Wi-Fi | Either |
| Video Quality | 1080p HD | 1080p HD | 1080p HD |
| Video Field of View | 147° | 116° | 147° |
| Night Vision | Infrared | Infrared | Infrared |
| Two-Way Audio | Yes | Yes | Yes |
| Local Storage | None | None | None |
| Cloud Storage | 24 hours of free storage, 30 days with membership | 24 hours of free storage, 30 days with membership | 24 hours of free storage, 30 days with membership |
| Smart Platform Integration | Alexa, Google Assistant, Apple watch |
Alexa, Google Assistant, Apple watch |
Alexa, Google Assistant, Apple watch |
| Artificial Intelligence | Person detection, with membership | Person detection, with membership | Person detection, with membership |
| Extras | N/A | N/A | 90 decibel siren, HomeHealth technology |
Canary Monthly Subscriptions Explained
We initially tested our Canary cameras with the Basic Service, which was free, but we found the features limited, so we signed up for the Premium Service.
Since then, Canary has added a much-needed professional monitoring option. We haven’t had the chance to test it out yet, but here’s everything you need to know to decide whether to get it yourself.
| Basic | Premium | Pro Monitoring | Premium Pro Monitoring | |
|---|---|---|---|---|
| Motion-activated Recording | Video Clips | Full-length Videos | Video Clips | Full-length Videos |
| Video History (in days) | 1 | 30 | 1 | 30 |
| Safety Button | No | Yes | No | Yes |
| Unlimited Video Downloads | No | Yes | No | Yes |
| Desktop Streaming | No | Yes | No | Yes |
| Custom Modes | No | Yes | No | Yes |
| Two-way Audio | Yes | Yes | Yes | Yes |
| Device Warranty | 1 Year | 2 Years | 1 Year | 2 Years |
| Incident Support Services | No | Yes | No | Yes |
| Professional Monitoring | No | No | Yes | Yes |
| Monthly Price | $0 | $19.99 | $9.99 | $29.98 |
Money Saving Tip: Looking to save some cash? Canary frequently runs deals that include a camera for free if you commit to two years of monitoring. That’s a big commitment, but if you plan to purchase monitoring anyways, we think it’s worth it.
Number Of Cameras
The Basic Service only allowed up to four cameras, so if we had five cameras, the fifth one couldn’t be connected to our account. As for the Premium Service, the $9.99 monthly fee only covered one camera – there’s an additional $2.99 fee for every extra camera per month. Here’s the math: with five cameras, you’re looking at $21.95 per month. That can get pricey fast if you’re trying to cover a larger property.

Video Recording
With the Basic Service, the camera only stored videos for 24 hours. The Premium Service extended that to 30 days. In addition, the length of videos varied. With the Basic Service, our cameras only recorded for 30 seconds. The clip cut out whether the movement was over or not. With the Premium Service, the cameras kept on recording for as long as there was movement, providing us with more comprehensive coverage.
Two-Way Talk, Desktop Streaming, And Other Basic Features
Here’s where things got a bit frustrating: Canary locked some pretty standard features behind their paywall. We switched to the Premium Service because of the Basic Service’s lack of pretty basic features that are normally included for free. Those features were two-way talk, desktop streaming, cloud-to-local video downloads, and custom modes (more on what exactly that means in a bit). These features were important to us, so spending on the Premium Service was necessary, although it’s not mandatory for those that want to avoid monthly fees.
Special Features
Once we got over the fact that Canary required a subscription for things as simple as streaming to our desktop and using two-way talk, we were able to appreciate the special features included in the subscription. We were particularly happy about the safety tracker feature that would have allowed us to call for help with just a click of a button using the mobile app, whether we were home or outside. This feature tracks the location of the user when pressed, allowing first responders to get there quickly. Canary partnered with Noonlight, a leading safety tracker app, to bring this potentially life-saving feature to their platform.
We also liked that we were able to customize the cameras’ modes. Custom modes allowed us to tell Canary which cameras to arm whenever we set our app to a certain mode. For example, whenever we set our app to Home mode, it armed our Canary Flex outside and our Canary View in the hallway, but not our Canary Pro in the living room. Without the Premium Service, the Home mode simply disarmed all our cameras.
We’re also glad that Canary offers Incident Support, although we’re also thankful that we never had to use this feature. In case of a break-in, Canary will provide an Incident Support agent to help Premium Service customers locate and download any video evidence captured by Canary.
Surely, these special features made our Canary experience a lot better.
Money Saving Tip: Want to cut your subscription costs? Pay annually instead of monthly and you’ll score two months free. That brings your Premium Service down from $239.88 to $199 per year — a savings of about $40.
Canary And Third-Party Integrations
We like having our security system and smart home devices all connected together, so we loved the fact that Canary worked with two of our most beloved voice assistants: Alexa and Google Assistant. If you also use Alexa, Google Assistant, or both, Canary becomes even more valuable.
For the Alexa integration, we simply activated the Canary Skill within the Alexa app. The skill allowed us to view live streams and recorded videos through our Alexa-enabled screens like the Echo Show simply by telling Alexa to “show us” the camera we wanted to see. If there was someone at the door, for instance, we could simply say, “Alexa, show me my front door.” It was that simple!
Unlike the Alexa integration that works with all three Canary cameras, the Google Assistant integration worked only with our Canary Flex and Pro. We’ve used it to view videos through our Nest Hub Max, but we found that it also worked on Android TVs. The integration allowed us to check our HomeHealth status through Google Assistant as well, given we were using the Canary Pro, of course.
Lastly, for Apple fans, we can tell you firsthand that Canary works with Apple Watches. Using our Apple Watch, we armed and disarmed our cameras and viewed recent activities, like who armed or disarmed the cameras and when they did so. All in all, Canary cameras fit in really well with the rest of our smart home technology, so we were happy campers.
Canary vs. Competitors

Canary is just one of the many security camera brands out there, so how does it compare to the others?
Let’s talk dollars and cents. The Canary View at $99 undercuts most indoor cameras that typically hover between $100 and $150. The Canary Flex, priced at $199 for a battery-powered outdoor camera, sits right at the industry average for wireless outdoor options. The Canary Pro’s $169 price tag was steeper than most indoor cameras, but you were paying for extras like environmental monitoring and that 90-decibel siren. If you can live without those features, the View offers better value.
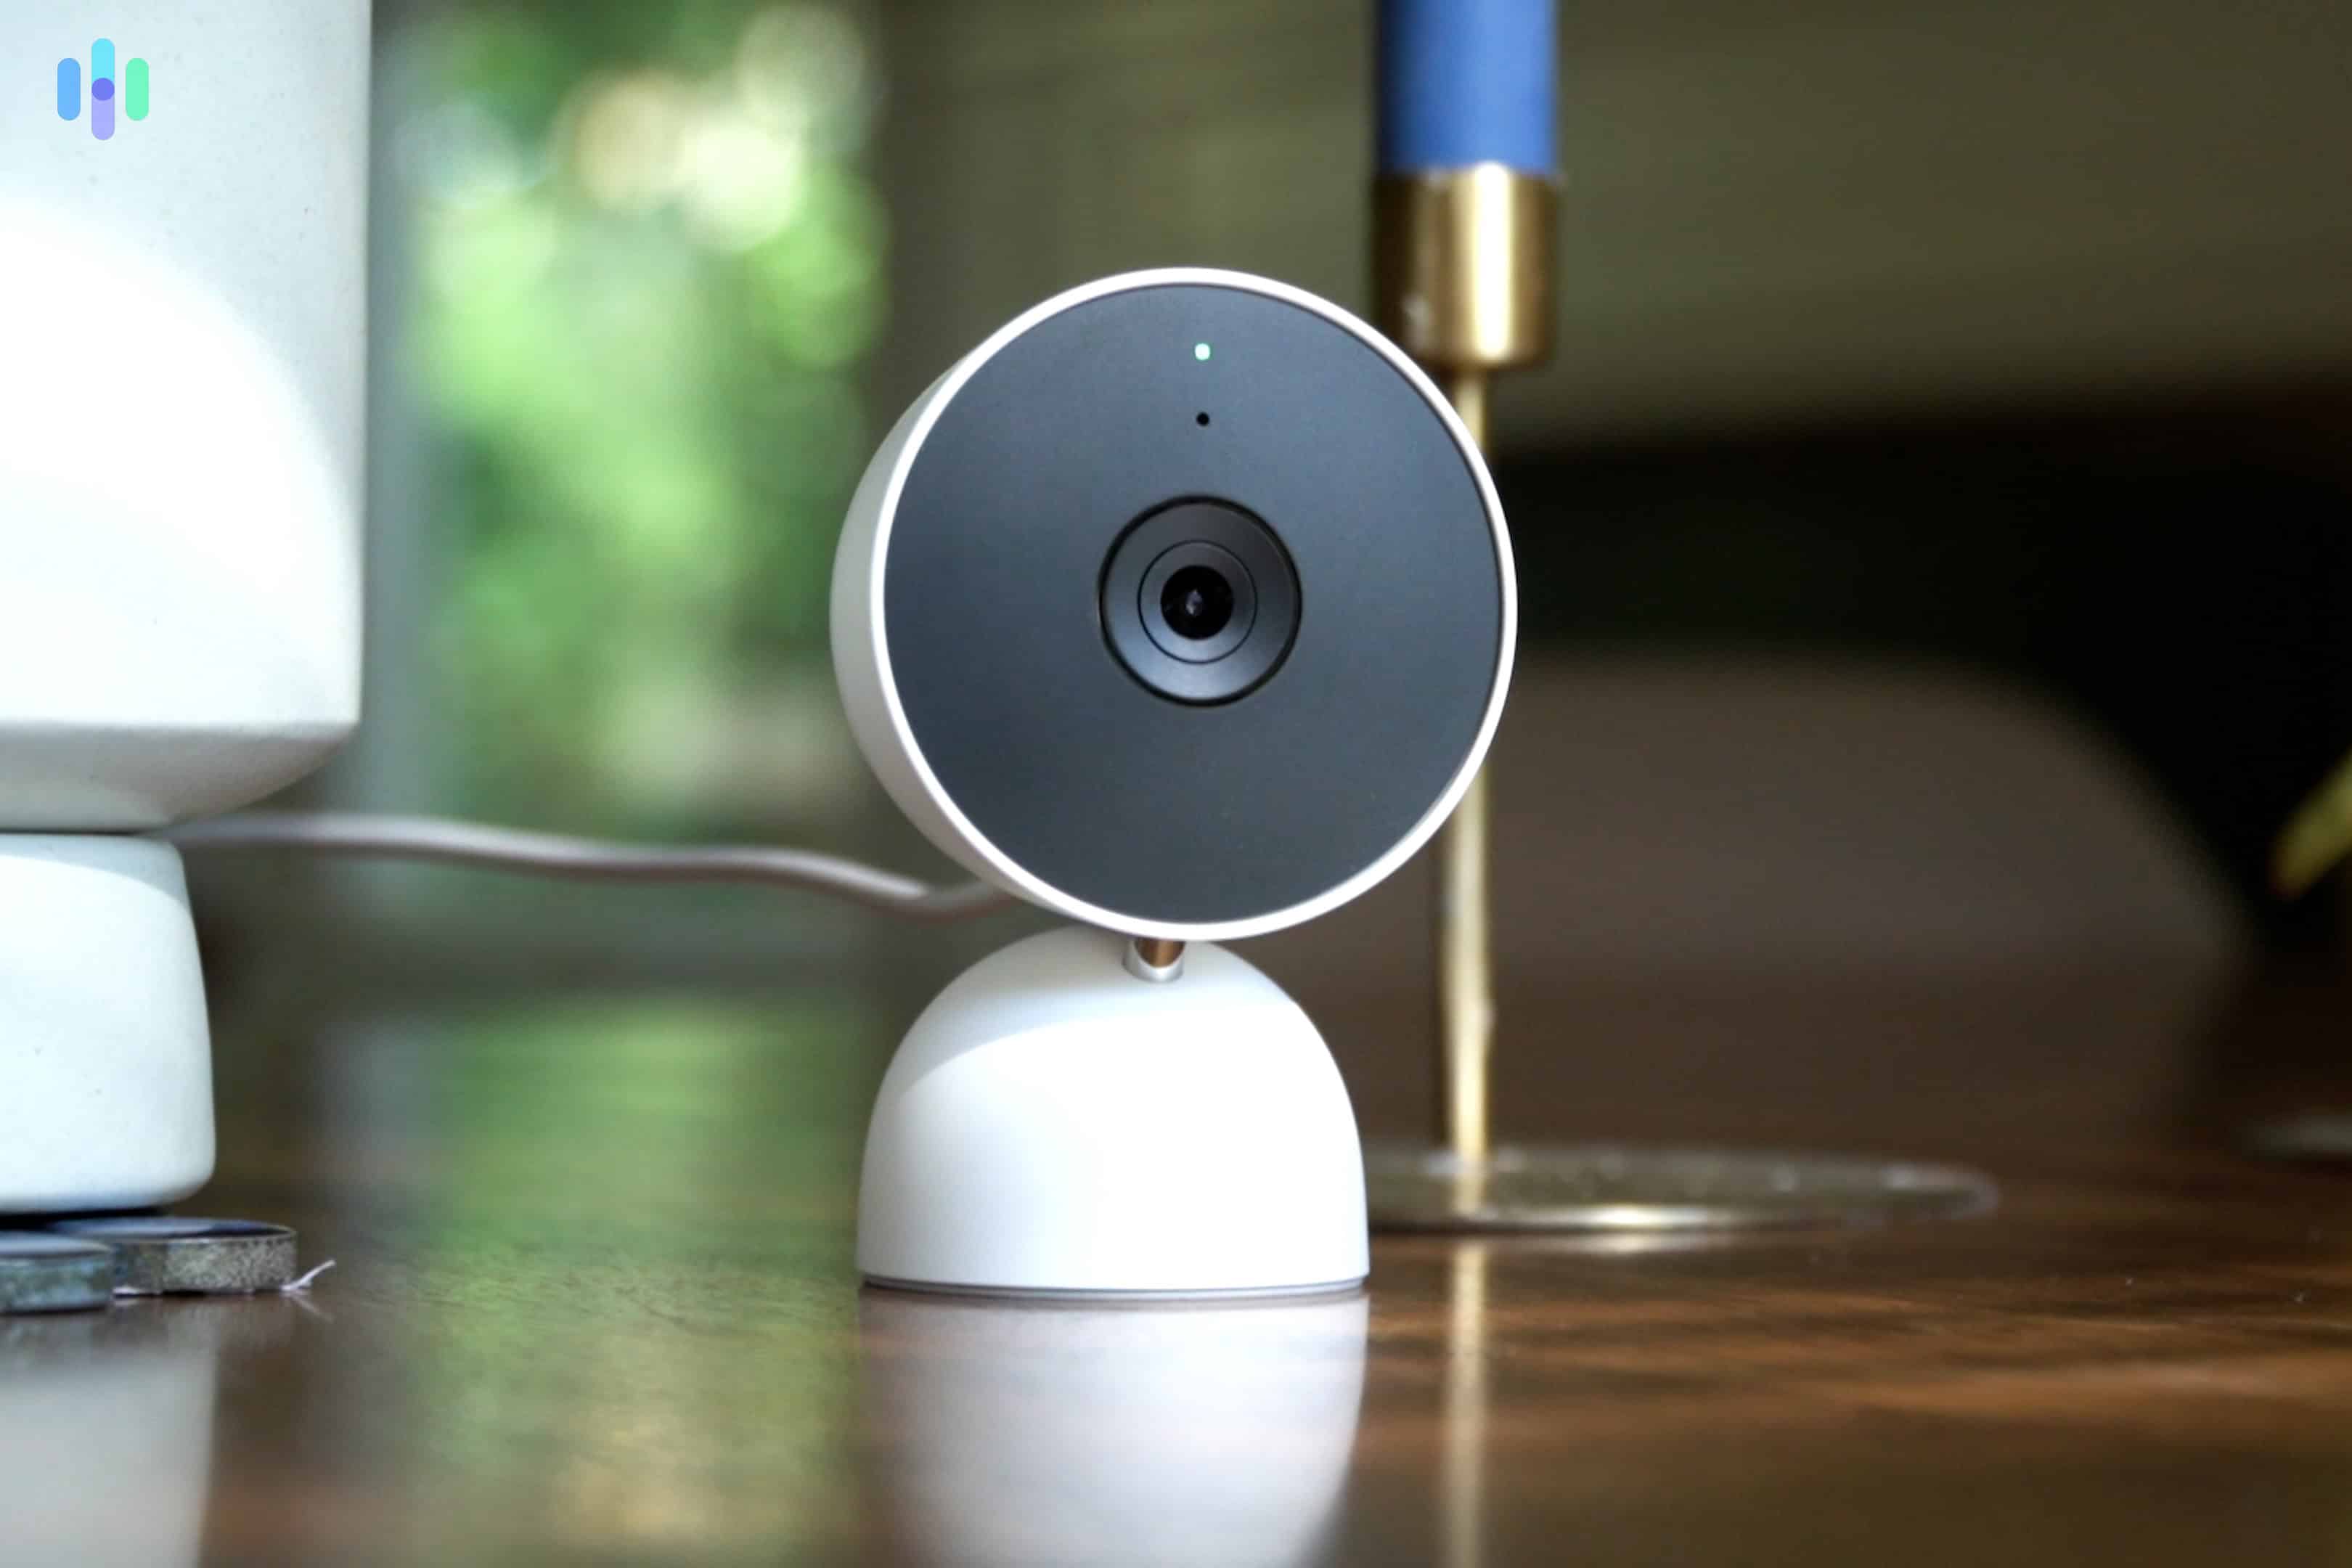
When it came to features, Canary didn’t fail us. Although we were disappointed to see two-way talk, a necessary security feature, only offered as a part of the Premium Service, we were glad that Canary made person detection a free feature. Not many brands do so. For instance, Nest Cams require a Nest Aware subscription ($8 a month or $80 a year as of 2024) to unlock person detection.
Although we’re not usually fans of paying a monthly fee to access premium features, we were happy with what Canary’s Premium Service offered. We were particularly impressed by the Canary app’s safety tracker, although it’s not the only place we’ve seen it; ADT’s pricing, for example, offered a similar feature to paying customers and even they charged an extra $9.99 per month for premium safety tracking features including the virtual SOS button. Lastly, we were glad that Canary offers Incident Support to its Premium Service customers, which goes to show Canary’s commitment to their role as a home security brand. Good customer support is always important, but it’s particularly important when it comes to home security.
Overall Value: Is Canary Worth It?
Canary has been protecting homes since 2013, and after more than a decade in the game, they refined their approach to delivering quality cameras without the premium price tag. Their lineup offers indoor and outdoor protection — with Canary Pro and the more affordable Canary View covering the indoors, and Canary Flex keeping an eye on the perimeter.
Overall, our experience with Canary was solid. It delivered a lot of great features, like free person detection and customizable modes with the Premium Service. Sure, we were a bit annoyed that basics like desktop streaming and video downloads required a subscription. That said, if you’re serious about home security, you’ll want that Premium Service anyway for the 30-day video history and incident support.
Bottom line? If you’re shopping for an affordable home security camera system with genuinely useful features, Canary is a solid pick we’re comfortable recommending.
FAQs
-
Does Canary offer professional monitoring?
Yes! For an extra $10 or so per month (depending on your plan) you can get your Canary cameras professionally monitored.
-
Are Canary cameras good quality?
In our experience, Canary cameras are good quality for the price.
-
Which is better, Canary or Arlo?
It’s hard to beat Arlo’s top-of-the-line security camera range. Canary might be a better choice if you’re on a budget, but Arlo’s cameras are better overall.
-
Policygenius. (2024). Are there home insurance discounts for security systems? https://www.policygenius.com/homeowners-insurance/how-much-can-you-save-on-home-insurance-with-a-security-system/