

the security.brief
Security cameras deter crime; place them visibly for best effect. Install indoors on the first floor and outdoors covering entry points, avoiding direct light.
Editor’s Note: Security cameras are only one component of a complete security system. Check out our roundup of DIY home security systems that don’t need professional installation and can be set up with Alexa and Google Home.
We must admit; there’s no one way to install security cameras. It all depends on how they are powered, how they connect to the internet, and whether or not they use a local storage device (e.g. NVR or DVR). Some are easier to install, others require more effort and patience.
Speaking in general, however, home security cameras are easy to set up. We can’t tell you the exact process for each camera out there, but we can give you some pointers for the different types of cameras we’ve installed in the past.
Placing Your Home Security Cameras

Before everything else, the first step is always deciding where to put the security cameras. In fact, we do this before buying to determine things like how many cameras are needed and whether or not we need extra-long power cables. Our piece on where to place security cameras could help you with this step, but here’s a quick summary.
Placing Cameras With Hubs

Many modern security cameras work through a central hub instead of connecting directly to your Wi-Fi network. This approach reduces network congestion and can simplify the management of multiple cameras. You’ll just need to consider the hub’s range in your placement strategy.
One example is the Blink Outdoor we tested, which connected to the Blink Sync Module 2. In an open area, the Sync Module 2 can connect to any Blink camera in a 100-foot radius, but due to wall interference, we had to place the Blink Outdoor closer to the house. Yes, the Blink Outdoor is battery-powered, so it can technically be placed anywhere. But while setting it up, we had to keep checking the app to make sure it’s getting an adequate signal (at least two bars) from the Sync Module.
Placing Indoor Security Cameras

No matter what type of indoor camera you have – battery-powered or plugged-in – these are the things you should consider when it comes to placement.
- It’s preferable to put indoor security cameras on the first floor of your home.
- If you have more than one story, try to put cameras in common spaces like the main hallway or living room. These high-traffic areas provide the best vantage points for capturing clear facial images, which can help you identify intruders.
- Place a camera right outside the master bedroom, as this is where valuables are most often kept.
- Mount the camera out of reach, so an intruder (or even a mischievous tween) can’t easily break or disarm it. We recommend mounting at least eight to ten feet high, particularly for cameras that store footage locally on SD cards. Basically, any place that burglars can access via doors or windows should be covered.
- For the widest possible field of view, place cameras in corners.
- Also, put cameras on stairs to track burglars within your house.

Privacy concerns remain paramount when installing indoor cameras. We strongly advise against placing cameras in bedrooms or bathrooms, as this violates privacy expectations. That makes it illegal in certain jurisdictions. Additionally, most indoor cameras struggle with glass interference. Many can’t detect motion through windows, and night vision sensors reflecting off glass create glare. There are many weather-resistant outdoor cameras available, which brings us to our next point.
Placing Outdoor Security Cameras

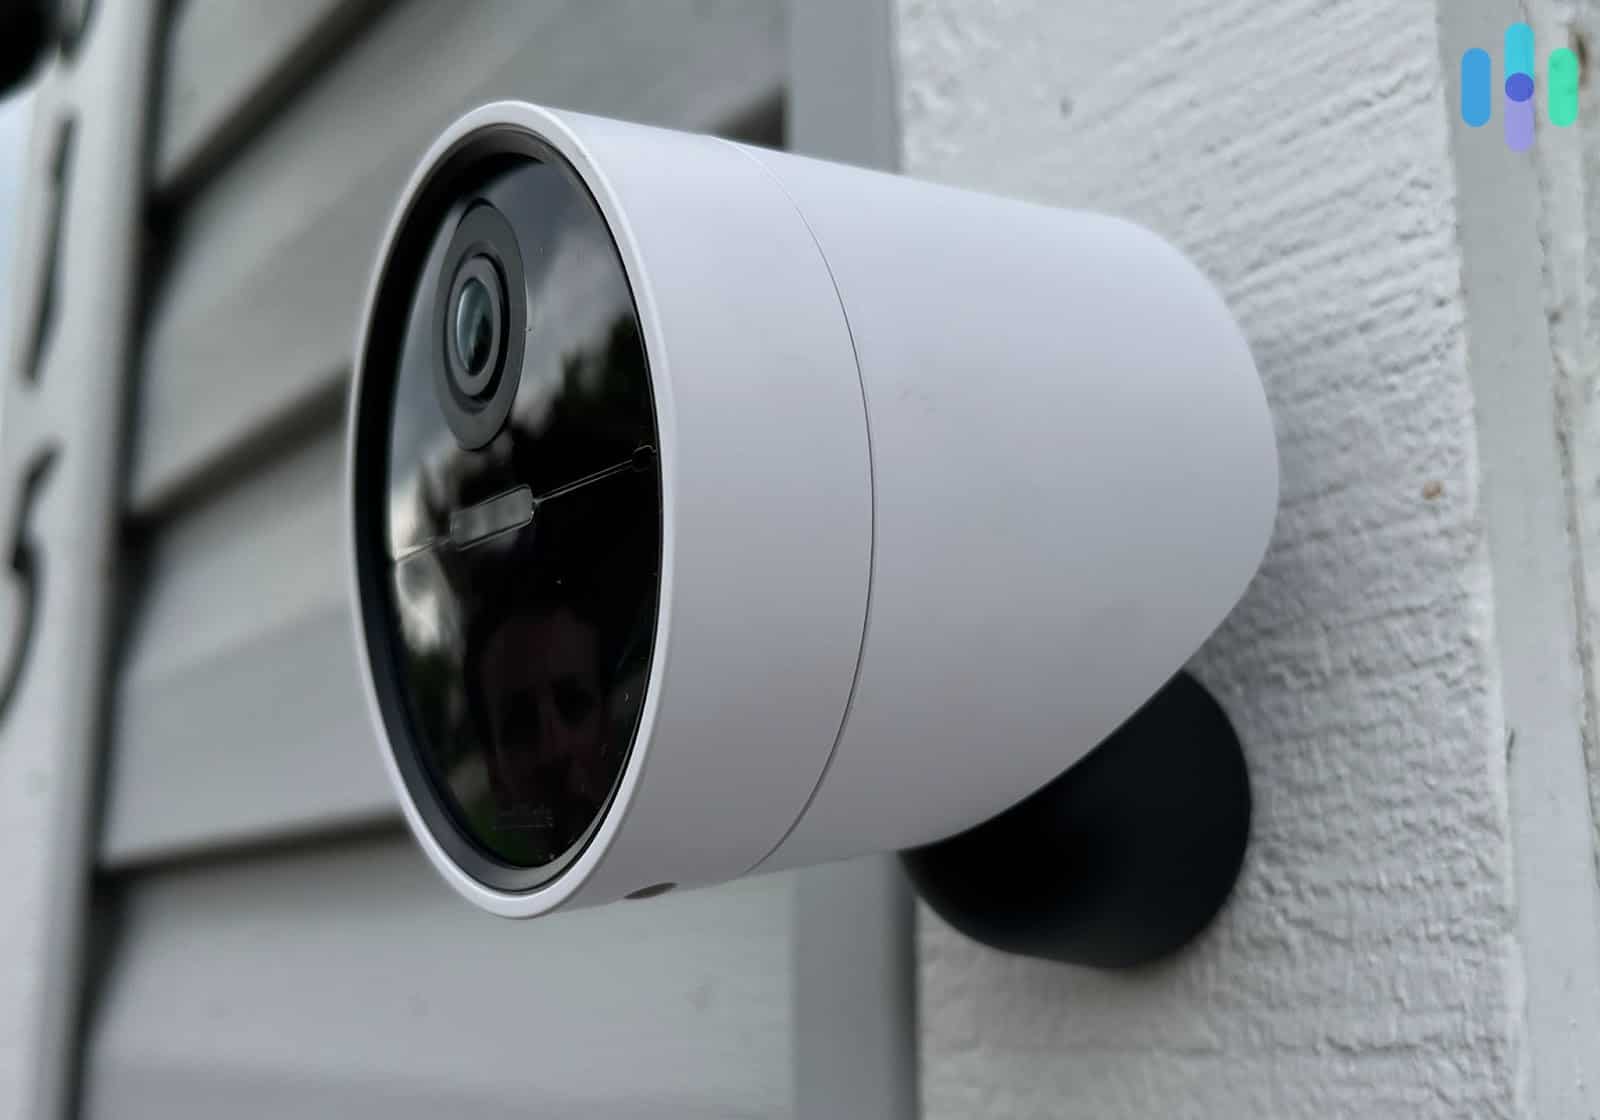
The outdoor camera market has expanded significantly. Options range from traditional wired models to battery-powered units, solar-powered systems, and cameras with integrated lights. For instance, the Ring Spotlight Cam Battery we reviewed combines motion-activated lighting with high-definition recording. Here are some general tips when it comes to placement:
- Cover most, if not all, of your home’s entry and exit points with outdoor cameras. At the very least, your front and back doors should be covered.
- Install outdoor cameras in off-street windows, as burglars are more likely to enter through side or back windows than through the front of the house.
- Install cameras in your driveway, yard, and backyard.
- To protect your neighbors’ privacy, avoid recording any property other than your own. While it’s important to watch out for your neighbors, recording their day-to-day comings and goings without their knowledge puts the “nosy” in nosy neighbors. This is also illegal and violates their individual Fourth Amendment rights.
- Placing your outdoor camera is often a bit more complicated than installing an indoor camera, particularly if it plugs into a wall outlet. You may need to use an outdoor plug or snake it into your home somehow. Hardwiring the camera into your home might also be a solution.
- Typically, wireless cameras are easy to install, whether they’re wireless indoor or wireless outdoor cameras. Modern battery-powered cameras often last three to six months on a single charge, depending on use and weather conditions. Nevertheless, at least your camera will stay on during power outages with a battery-powered camera.
Whatever the situation is, outdoor cameras require that you consider placement options before choosing the camera.

Many people wonder if security cameras deter crime or if they’re an unnecessary purchase.
Research consistently shows that visible security cameras significantly deter criminal activity around your home.1 That’s why security professionals often recommend installing at least one highly visible camera alongside more discreet units. Here are a few other tips we implement when placing outdoor cameras:
- Avoid direct light. Direct sunlight or bright artificial lights can wash out your footage and trigger false motion alerts. To prevent this, survey the areas where you want to place your cameras for light they receive at various times throughout the day before mounting them. Note any direct light sources, including the sun, lampposts, or anything else that could cause a glare in your footage. If you notice a problem, move your planned location for the camera just enough to avoid direct light.
- Account for blind spots. Just like blind spots when you drive, blind spots in your security system lead to you missing important information. Most modern outdoor cameras offer fields of view between 110 to 180 degrees. You can use the viewing angle specs to map out the coverage of each camera and ensure all of the areas around your home are covered, with no obstruction to the lines of sight.
- Remember detached buildings. Too often, we forget about recording footage of separate or adjoining buildings to our homes, such as garages, greenhouses, or sheds. It’s important to place cameras in and around these structures.
How To Install Security Cameras
Now that you have a general idea of where your cameras will be, it’s time to install. Every camera follows a different setup process, so our advice is to take things step by step. Don’t rush it; you wouldn’t want to miss one step and restart from the beginning.
That said, this is how we often deal with installation:
- Once you’ve ordered and purchased new security cameras, plan out and diagram where you will place the cameras inside and outside of your home.
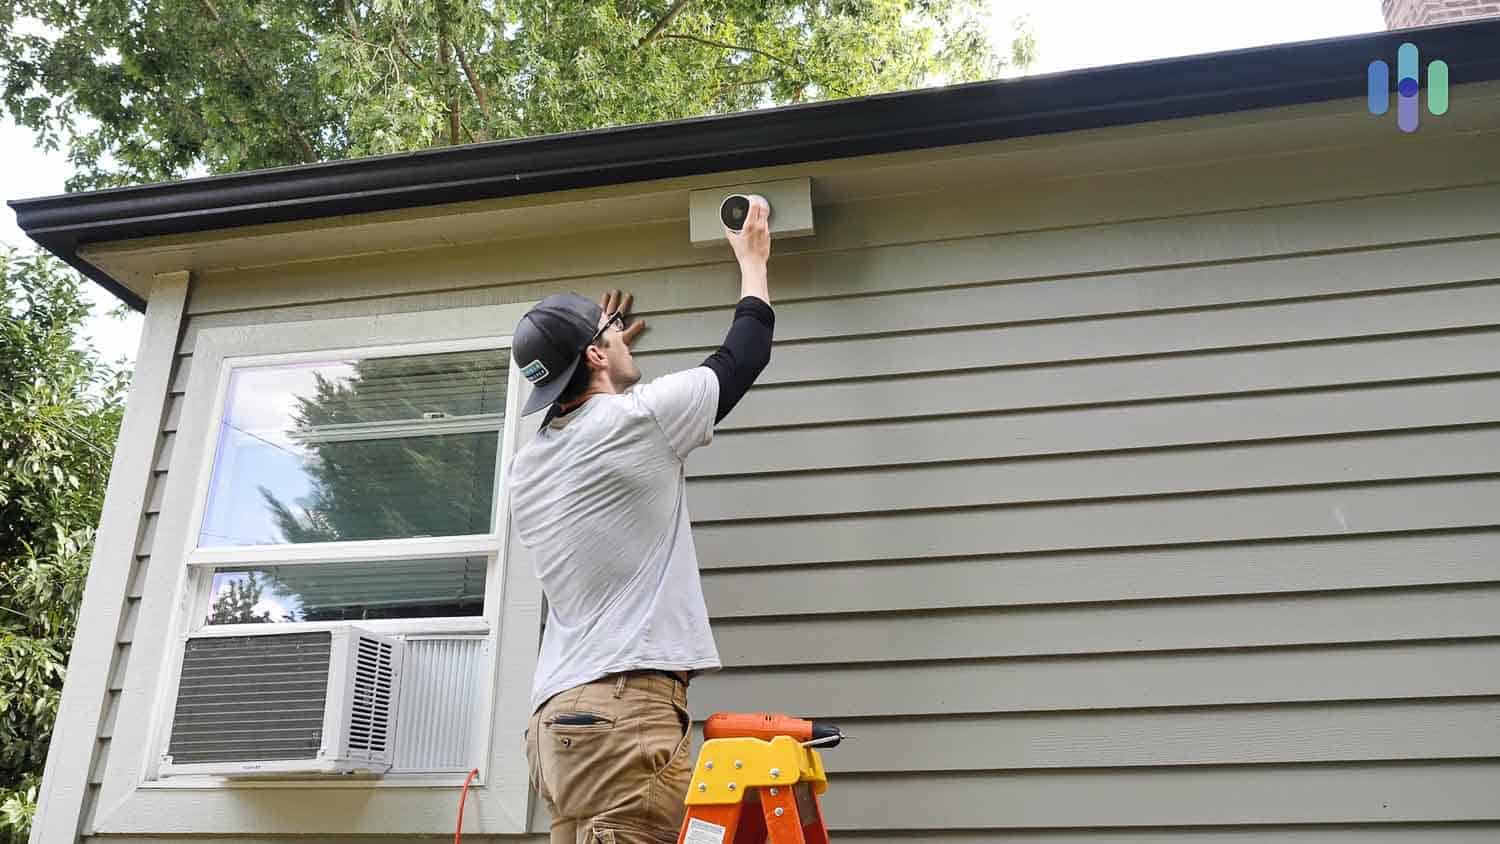
- This is important: Complete the software setup before physical installation. For most cameras, that means connecting them to Wi-Fi and a companion app. Others, as mentioned earlier, require that you pair them with a hub. We’ve learned from experience that troubleshooting connectivity issues is much easier at ground level than while balancing on a ladder.
- Once the software is configured, take each camera to its planned location for a test run. Temporarily secure it with tape or a removable adhesive, power it on. Then, verify the connection strength and video quality through the app. If the cameras work, go ahead and mount them permanently according to your original diagram. If they don’t work, then it’s easier to bring them down for troubleshooting.
- Following the security camera installation, access the livestream video feed with your mobile app or computer.
- Fine-tune your settings, including motion zones, sensitivity levels, notification preferences, and video quality settings.
- Confirm that everything works correctly.
The sections below go into greater detail about installing different types of security cameras.
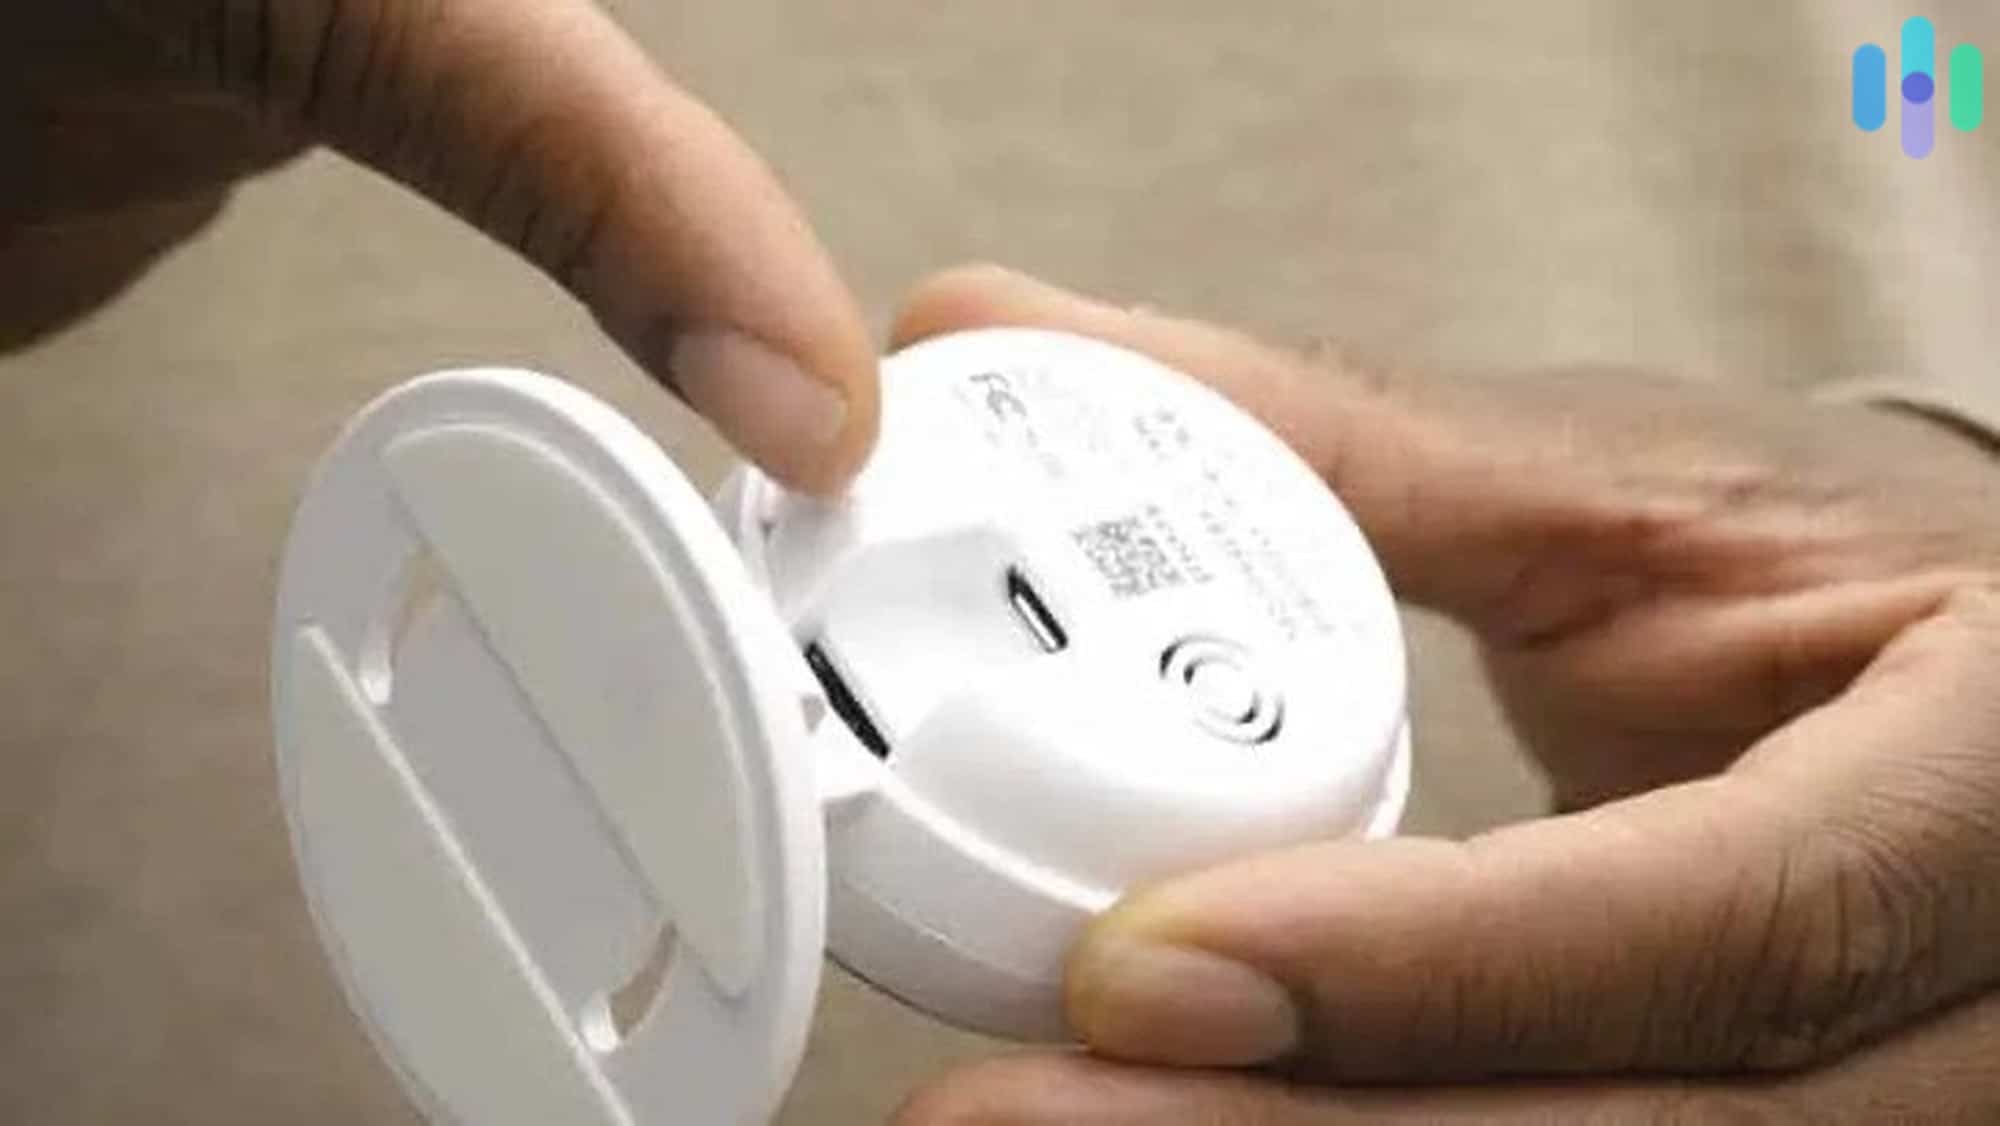
Installing Wireless Security Cameras

- Download the manufacturer’s app and create an account if required. Most cameras now use QR code scanning for quick Wi-Fi setup.
- Sync it with any other connected devices that it works with, such as smart sensors or video doorbells.
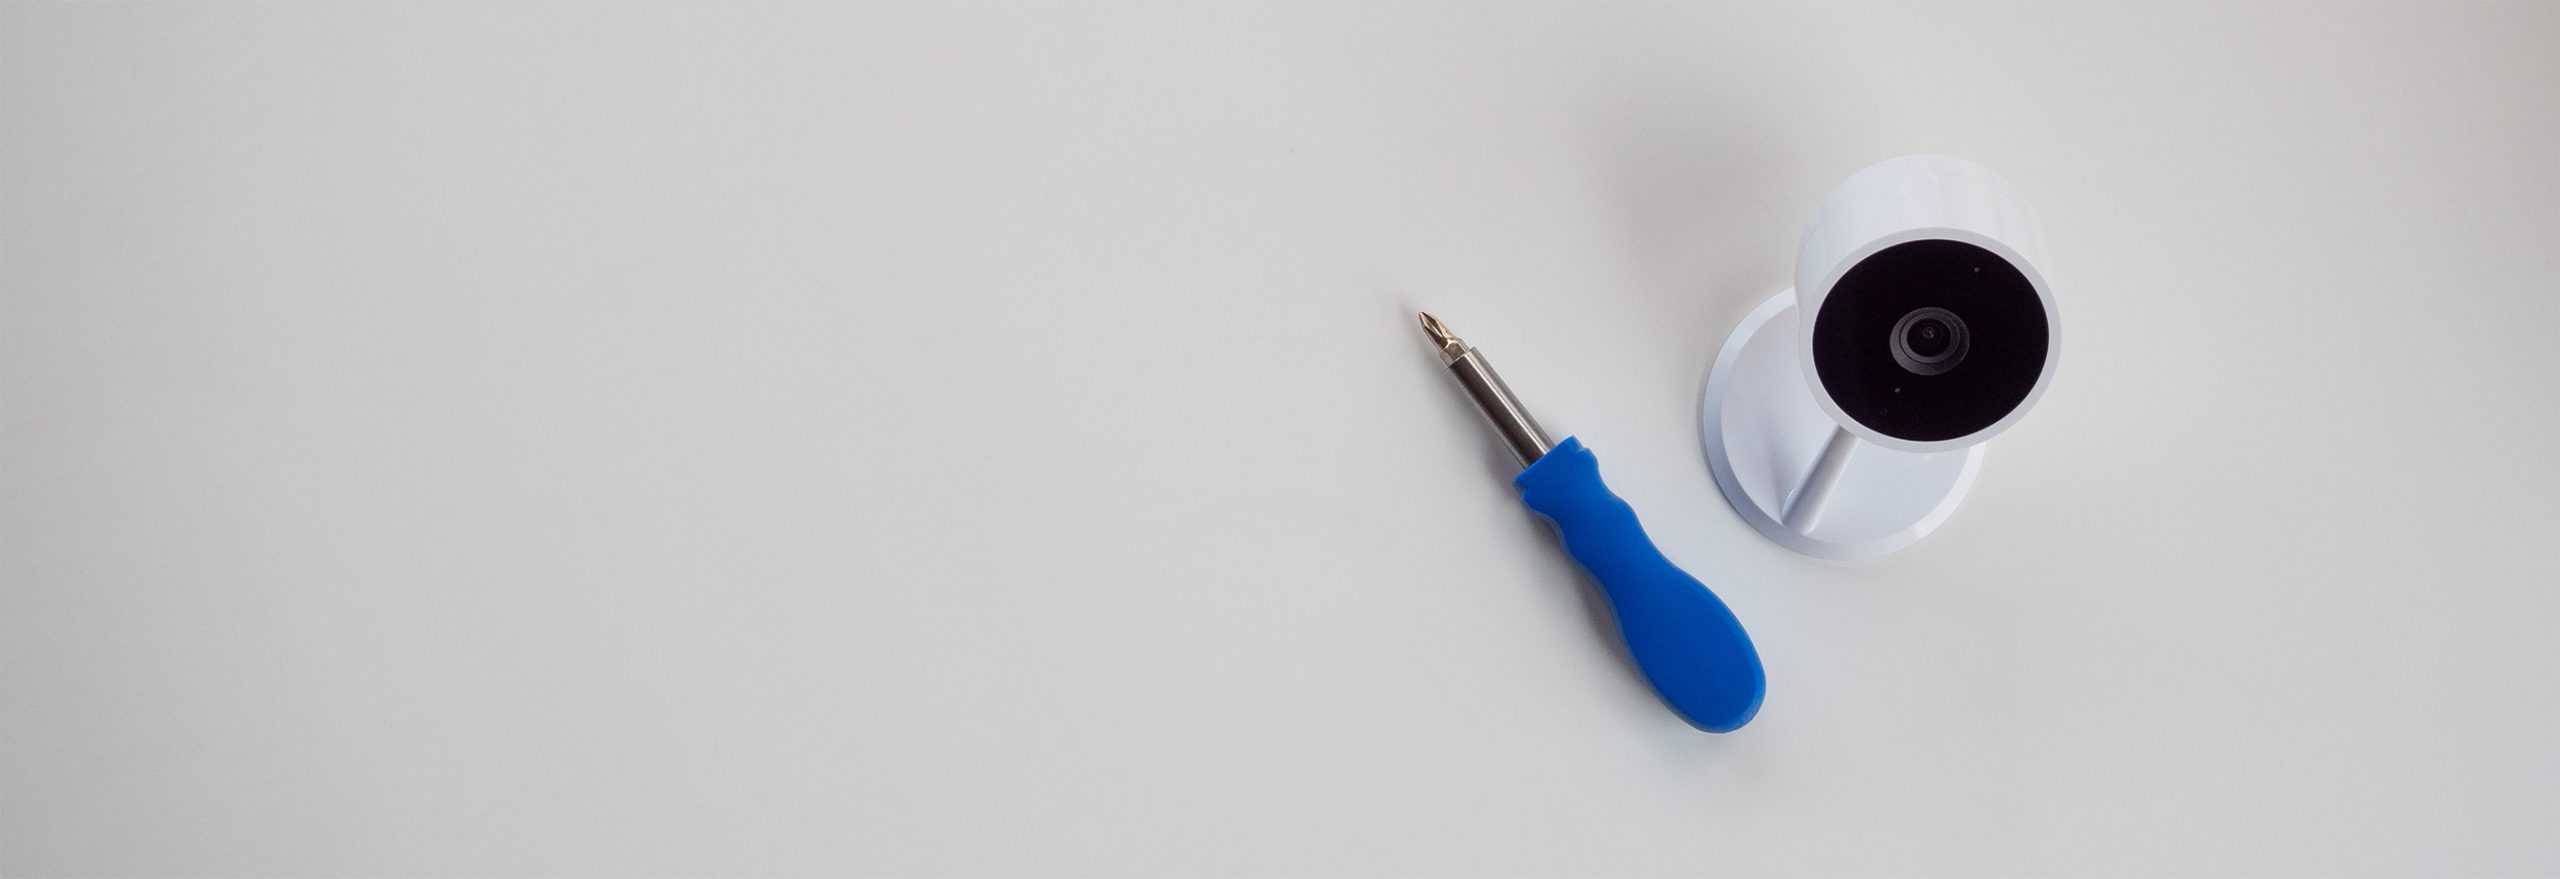
- Either mount the camera or merely place it on a flat surface. Use a drill and screws to mount the camera (most cameras come with the appropriate mounts). Battery-powered models typically weigh eight to 16 ounces with the battery installed, so secure mounting is essential. We’ve seen too many cameras damaged from falls due to inadequate mounting.
These days, most DIY installation processes have step-by-step directions in their respective mobile apps, which we recommend following exactly.
Installing Wired Security Cameras

Wired security cameras offer superior reliability and consistent power, making them ideal for comprehensive surveillance systems. However, installation requires more planning and potentially professional assistance for complex setups.
- Plan your cable routes carefully, considering both aesthetics and practicality. Use a stud finder to locate safe drilling paths and avoid electrical wiring or plumbing.
- Whenever you attach a camera to a wall or a ceiling, make sure that your spot is stable, which may require finding a stud or using drywall screws.
- Always check for any existing wiring before drilling to avoid causing any electrical issues.
- Mark and drill holes for cables.
- Run the wiring through walls or use cable conduits for a professional appearance. Consider using Power over Ethernet (PoE) cables if your system supports it. This delivers both power and data through a single cable.
- Mount the camera.
- Alternatively, you may be able to plug the camera in and mount it.
- Modern NVR (Network Video Recorder) systems often support up to 16 cameras and offer features like AI-powered person detection and automatic backup to cloud storage.
Recap
Whether you choose wireless cameras for flexibility or wired systems for reliability, proper placement and setup are essential for effective home surveillance. Remember to test your cameras thoroughly, respect privacy boundaries, and maintain your system regularly for optimal performance. In case you want to learn about any specific camera, we host a wide range of free expert reviews on Security.org.