

the security.brief
To change your Mac's location, use a VPN to alter your IP address. Macs lack GPS, so IP or Wi-Fi changes are key. Use System Settings for network tweaks.
You’re on your MacBook Pro and out of things to watch on Netflix — how do you access another country’s library? Or maybe you’re at home and need to access your work network without going into the office. Whatever your reason, we’re telling you how to change your location on a Mac, step by step.
Well, we’ve been in both situations and have had to change our Mac’s location more than once. And we’ll be honest, it’s not the easiest process. But don’t worry, we’re here to guide you through every step of the same exact process we use when changing our Mac’s location. Let’s get started.
The Tools You’ll Need To Change Location On Mac
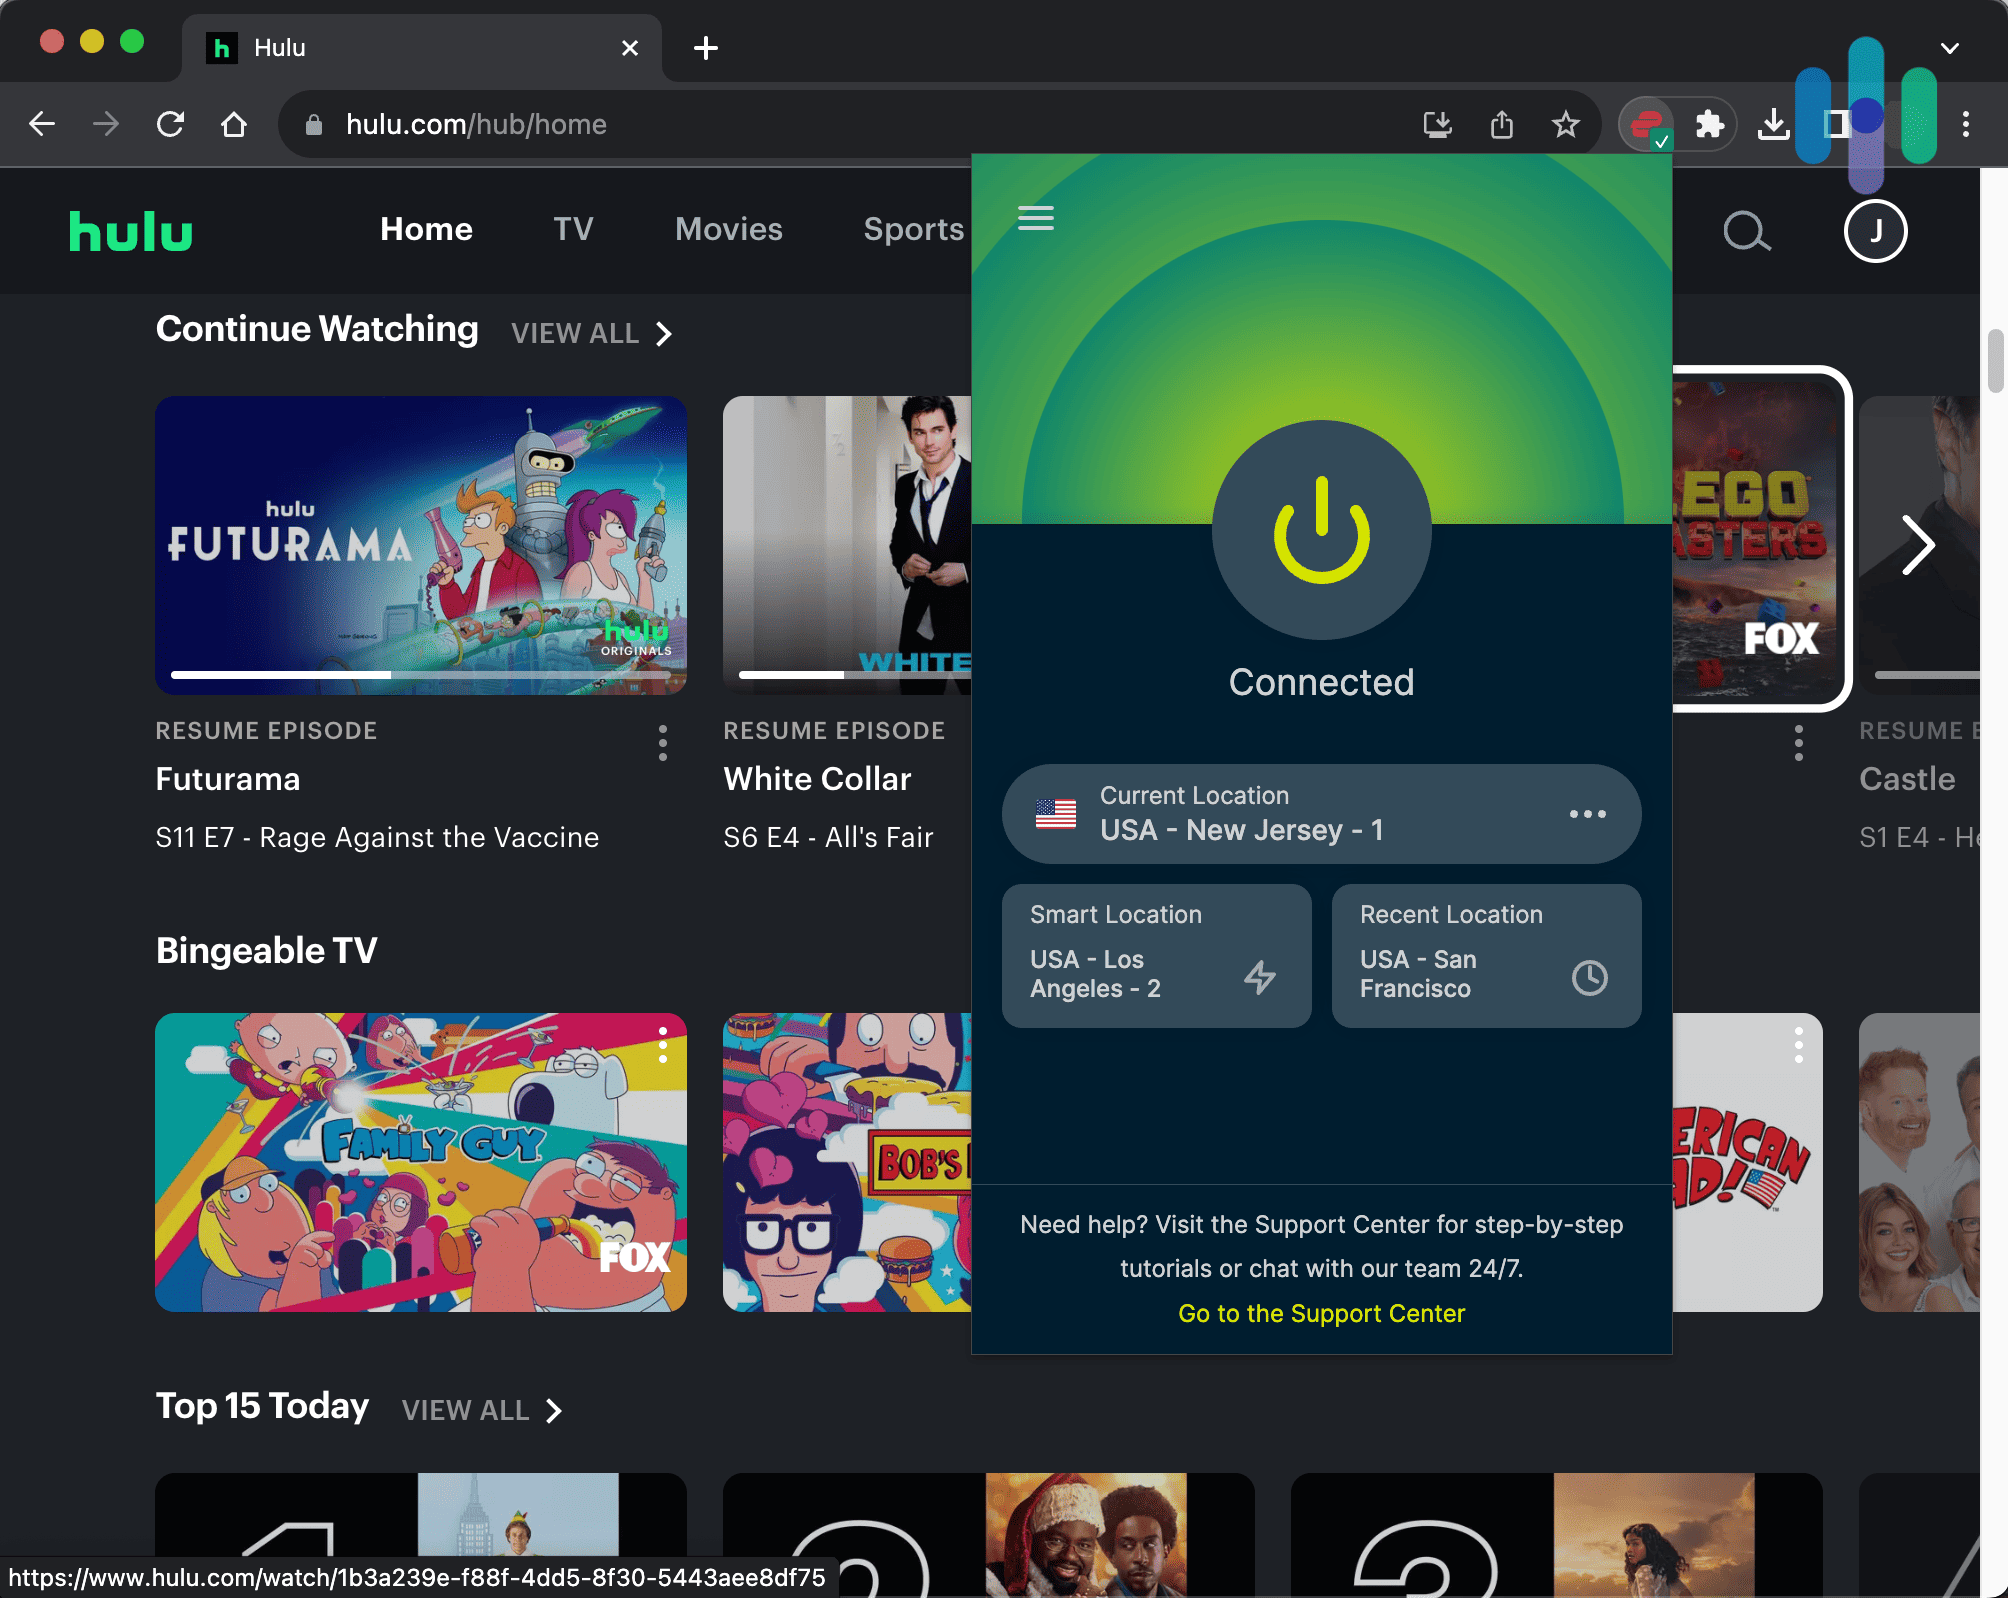
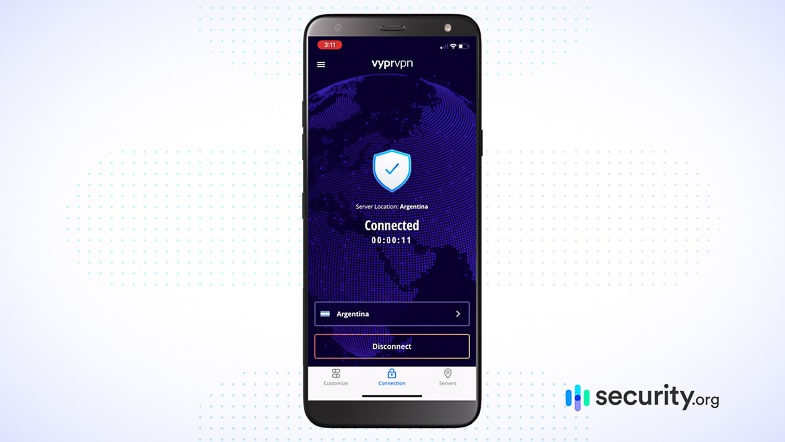
In most (but not all) instances, changing location on a Mac means changing your IP address. However, changing your Mac’s IP address to another address on your local network won’t do much. You’ll need a VPN to change the location tied to your Mac’s IP address. The best VPNs we've tested, including services like ExpressVPN and NordVPN, let you choose from hundreds of different IP locations.
How To Change Location on Mac
First, figure out exactly what you mean when you say “location” — the network location or the IP address. Let’s differentiate the two.
What Is a Network Location?
A network location is a group of settings for a network port, which could be a modem, a wireless network, or an Ethernet network. All Macs come with network locations automatically, but Apple lets users join multiple locations at once, switching between them as needed.
How To Change Your Network Location
Changing your network location is useful when you switch between different network environments. For example, we use it when we go from our home Wi-Fi to the office network. Each location has its own specific settings, making connections faster and more reliable. Here’s how we change our Mac’s network location:
How To Change Your Network Location on a Mac
- Choose Apple Menu from your screen.
- Open System Settings, your Mac’s network preferences app that has the location menu item.
- Click “Network.”
- Open the dropdown menu to switch locations. To the right of “Location,” choose “Edit Locations.”
- Click “Add.”
- Type in the name of the new location.
- Click “Done.”
- Click “Apply” for the location feature to change.
What Is an IP Address?
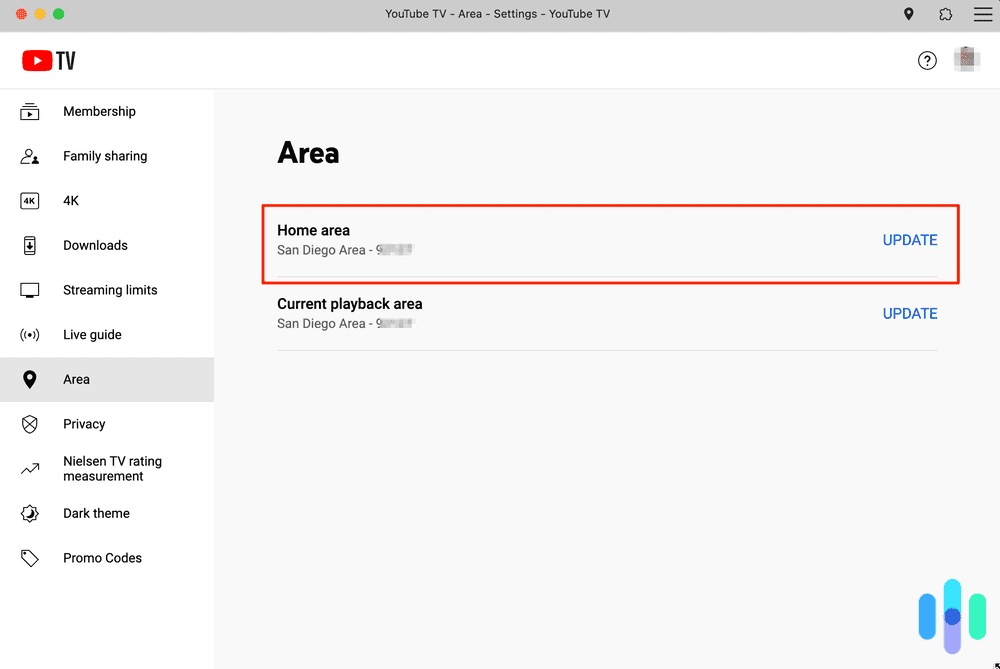
An IP address is your Mac’s unique identifier on the internet. It tells websites and services where to send data. This address also reveals your approximate geographic location. It’s how streaming services, online stores, and other websites restrict content based on where you’re accessing it from.
Streaming services often use devices’ IP addresses to determine their locations, which then determines what library the user can access. That’s why we use VPNs to hide our IP addresses.
How To Change Your IP Address
Here’s how we use a VPN to change your IP address on our Mac:
- Sign up for a VPN on your Mac, your router, or even your browser if you prefer. If you’re not sure which one you want, first check out our lists of the best Mac VPNs and the best Chrome VPNs.
- Download the VPN app.
- Sign in.
- Select the location of your choosing and connect to a nearby server.
- Verify that your IP address has changed.
For more information on how to set up a VPN, look at our specific pages on how to set up a router VPN or how to set up a Mac VPN.
Note: Firefox has its own VPN, which we tested in our Mozilla VPN review. However, you don’t have to use this VPN on Firefox if you don’t want to, as other VPNs work on the browser. Learn more about Mozilla VPN and its costs.
How Do Websites Track Your Geolocation?
We’ve all heard about how we’re followed around on the internet, but how exactly do websites know where we are? These are a few of the different methods:
- IP addresses: While IP addresses aren’t exact, unmoving locations, they can show what geographic area the user is in. This is the least accurate method of geolocation.
- GPS: GPS, or the Global Positioning System, is made possible with satellites that orbit Earth.
- Wi-Fi positioning system: Websites can gain location data from your Wi-Fi network.
- Cell tower trilateration: Websites can also get your geolocation data from the cellular towers you connect to on your smartphone.
FYI: Cellular towers are legally required to report approximate locations for 911 calls. So, if a smartphone doesn’t have GPS information, emergency services can use cellular networks instead.1
Network Service 101
Now let’s go back to those network locations we mentioned earlier. You can do a lot with them: change them, prevent services from being used, remove locations completely, rename them, or copy them. Managing these network services can improve your Mac’s connectivity and security. We find it useful when switching between different network environments.
How To Change the Network Service Order
Here’s how we change our network service Order on our Macs:
- Open the Apple menu.
- Open System Settings.
- Click “Network.”
- In the dropdown menu to the right of “Location,” click on the location you want to change.
- Click the “More Options” button, which has three dots.
- Click “Set Service Order.”
- Drag the services into the order you like.
- Click “OK.”
- Click “Apply.”
How To Prevent a Network Service From Being Used
To prevent our Macs from using a network service, we follow these steps:
- Open the Apple menu.
- Open System Settings.
- Click “Network.”
- In the dropdown menu to the right of “Location,” choose the location you want to change.
- Click “More Options.”
- Click “Make Service Inactive.”
- Click “Apply.”2
How To Remove a Network Location
When we want our location to remain private, we remove a network location on our Mac. This prevents someone who has access to our Mac from seeing which network locations we’ve connected to. Here’s how:
- Open the Apple menu.
- Open System Settings.
- Click “Network.”
- In the dropdown menu to the right of “Location,” click “Edit Locations.”
- Choose the location you want to remove.
- Click “Remove.”
- Click “Done.”
- Click “Apply.”
How To Rename a Network Location
Keeping your network locations organized can help you figure out which ones you’re trying to add, change, or remove. You can keep those network locations organized by renaming them. Here’s how we rename our network locations on our Mac:
- Open the Apple menu.
- Open System Settings.
- Click “Network.”
- In the dropdown menu to the right of “Location,” click “Edit Locations.”
- Choose the location you want to rename.
- Enter a new name.
- Click “Done.”
- Click “Apply.”
How To Copy a Network Location
Although a bit more of a niche need, copying a network location can give you a duplicate to edit or experiment with while leaving the original untouched. We follow these ten steps to copy a network location on our Mac:
- Open the Apple menu.
- Open System Settings.
- Click “Network.”
- In the dropdown menu to the right of “Location,” click “Edit Locations.”
- Choose the location you want to copy.
- Click the Action pop-up menu.
- Click “Duplicate Location.”
- Enter a new name for the location.
- Click “Done.”
- Click “Apply.”3
How To Turn On Location Services
Many apps rely on location settings, like weather apps and food delivery services. Here’s how to enable this feature when you need it:
- Open System Settings.
- Click “Security & Privacy.”
- Click “Privacy.”
- Click on the lock to unlock the preference pane.
- Click “Location Services.”
- Click “Enable Location Services.” Now, your Mac will start sharing your location.
Pro Tip: We recommend reviewing which apps have access to your location regularly. You can manage individual app permissions in the same Location Services menu. You should turn off access for apps that don’t need to know where you are. This helps protect your privacy and improves battery life on MacBooks.
Recap
Whether you’re trying to access geo-restricted content, protect your privacy online, or manage multiple network configurations, changing your Mac’s location is a valuable skill. So, we’ve compiled guides on how to change your PC location, and how to change your iPhone/iPad location. You’ll be changing your Netflix region in no time.
Frequently Asked Questions
For more information on how to change your Mac location, we’ve answered the questions we get the most often.
-
How do I set my location on my Mac?
To set your location on a Mac:
- Open the System Settings app.
- Choose “Security & Privacy.”
- Click “Privacy.”
- If it’s locked, click the lock to unlock it.
- Choose “Location Services.”
- Choose “Enable Location Services.”
-
How do I change my GPS location on a Mac?
You can’t change your GPS location on a Mac because Macs don’t have GPS trackers. Rather, Macs determine users’ locations via their IP addresses or Wi-Fi networks, so to change your IP address, use a VPN.
-
How do I change my location on Safari on a Mac?
To change your location on Safari on a Mac:
- Open System Settings.
- Click “Security & Privacy.”
- Click “Privacy.”
- Click “Location Services.”
- Unlock the lock by clicking on it if necessary.
- Scroll to Safari.
- Check off the app to enable Location Services.
-
Why is the location on my Mac wrong?
Your Mac location may be wrong because you’re using a VPN or because you’re connecting to a different network location. You may have also disabled Location Services.
-
Can I remove my location from my Mac?
Yes, you can turn off location services on your Mac. Go into your System Setting then navigate to Privacy and Security where you’ll see a toggle for Location Services. Turning off your Location Services removes your location from your Mac.